![How to Scan an Object for 3D Printing with Precision [Step-by-Step Guide]](https://cdn11.bigcommerce.com/s-y1xcm/images/stencil/1000x1000/uploaded_images/unnamed-14.jpg?t=1754926057 "How to Scan an Object for 3D Printing with Precision [Step-by-Step Guide]")
How to Scan an Object for 3D Printing with Precision [Step-by-Step Guide]
31st Jul 2025
If you've ever tried to get a model that doesn’t look like it was sculpted by a blindfolded raccoon, you’re in the right place.
The journey from physical object to crisp, printable 3D model sounds simple at first: point, scan, print.
But as anyone who’s tried knows, it’s equal parts art, science, and a bit of stubbornness.
So let’s walk through it, step by step, with some real talk, helpful tips, and a few bumps smoothed out along the way.
Why Bother With Scanning, Anyway?
Here’s the thing: sometimes you want to replicate something without redesigning it from scratch.
Maybe it’s a vintage car part no longer in production. Or a figurine your kid broke that’s too sentimental to toss.
Or maybe you just want to create a snug-fitting case for your oddly-shaped gadget.
3D scanning bridges the gap between the real world and your printer. It captures shape, scale, and surface details with accuracy (provided you don’t rush it like you’re late for lunch).
Now, there are a few methods and tools, and yes—they’re not all created equal. But before we get to the nitty-gritty, let’s clear up what you need.
Gather Your Gear (And Your Patience)
You wouldn’t try to bake a cake without eggs, right? Same here. To scan with precision, you’ll need a few essentials:
- A 3D scanner: Obvious but crucial. These range from affordable smartphone attachments to professional-grade laser or structured-light scanners. Don’t sweat it—more on picking one later.
- A computer with decent specs: Scanning generates large files, and processing them requires some horsepower. If your laptop struggles to open Excel, consider upgrading.
- Scanning software: Some scanners include proprietary software. Others let you choose third-party tools like MeshLab or Artec Studio.
- Spray or markers (optional): Some objects are shiny, transparent, or textureless (like a glass vase) and confuse scanners. Matte spray or stick-on markers help.
Oh, and a clean workspace helps. You don’t want your dog’s hair showing up as part of your model. Trust me.
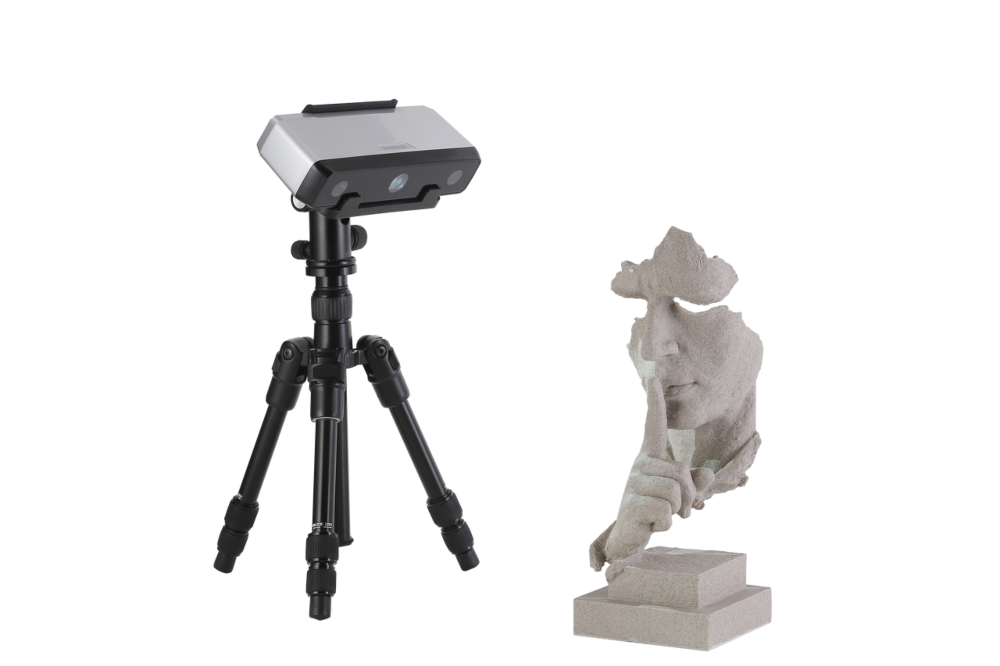
Step 1: Choose the Right Scanner For the Job
Not all scanners shine in every situation. It’s kind of like shoes—you wouldn’t wear flip-flops to a wedding (well, you shouldn’t).
- Handheld scanners: Great for large objects or when you need mobility. They’re easy to move around and can handle irregular shapes.
- Desktop scanners: Best for small to medium items that can sit on a turntable. They tend to be more precise but limited by size.
- Photogrammetry (camera-based): Uses a regular camera and specialized software. It’s affordable but requires skill and patience.
Honestly? If it’s your first time and you’re not scanning a giant sculpture, a decent mid-range desktop scanner should do the trick.
This is a perfect way to start your journey into 3D printing and not be discouraged from the get-go.
Step 2: Prep Your Object (And Maybe Yourself)
Here’s a secret: the better your prep, the less grief you’ll have later.
If your object is dirty, dusty, or reflective, clean it first. Matte finishes scan better because shiny or translucent surfaces confuse light-based scanners.
A light dusting of scanning spray (or even baby powder in a pinch) can make a world of difference.
If you’re using a turntable, make sure the object is centered.
If handheld, make sure you’ve got a steady hand or a tripod to keep things consistent.
And, while you’re at it, maybe grab a snack—this could take a bit.
Step 3: Scan Like You Mean It
This is where the magic happens… slowly. Don’t rush it.
If you’re using a turntable setup, the software usually guides you through each angle. For handheld 3D scanners, move around the object smoothly, overlapping each pass. Overlap is key—like laying shingles on a roof—to make sure the software stitches everything correctly.
And here’s where people slip up: maintaining a consistent distance. Too close, and you lose detail or risk distortion.
Too far, and you might miss finer features. It’s like holding a camera—find that sweet spot and stick to it.
Some scanners give you real-time feedback. If yours does, watch for gaps or weak spots in the mesh and adjust before finishing. No one likes redoing an entire scan because of one missed spot.
Step 4: Process Your Scan Like a Pro (Or Fake It Well)
Alright, so you’ve got your raw scan. It might look… messy. Don’t panic—that’s normal.
Most scanning software offers tools to clean up stray points, fill holes, and smooth surfaces. Think of it like editing a photo: crop, retouch, adjust contrast—but for a 3D model.
Pro tips:
- Remove unnecessary data (like the table it sat on).
- Fill gaps carefully—don’t just slap a patch on; make sure it fits.
- Reduce mesh density if the file is huge, but keep the detail you need.
This part can feel tedious, but it’s what separates a professional-looking model from a lumpy potato. And honestly, it’s kind of satisfying to watch your model clean up into something beautiful.
Step 5: Export in the Right Format
You’ve made it this far—don’t fumble at the finish line.
Most 3D printers accept STL or OBJ files. Export your cleaned model in one of these formats, check it in your slicer software (like Cura or PrusaSlicer), and you’re ready to print.
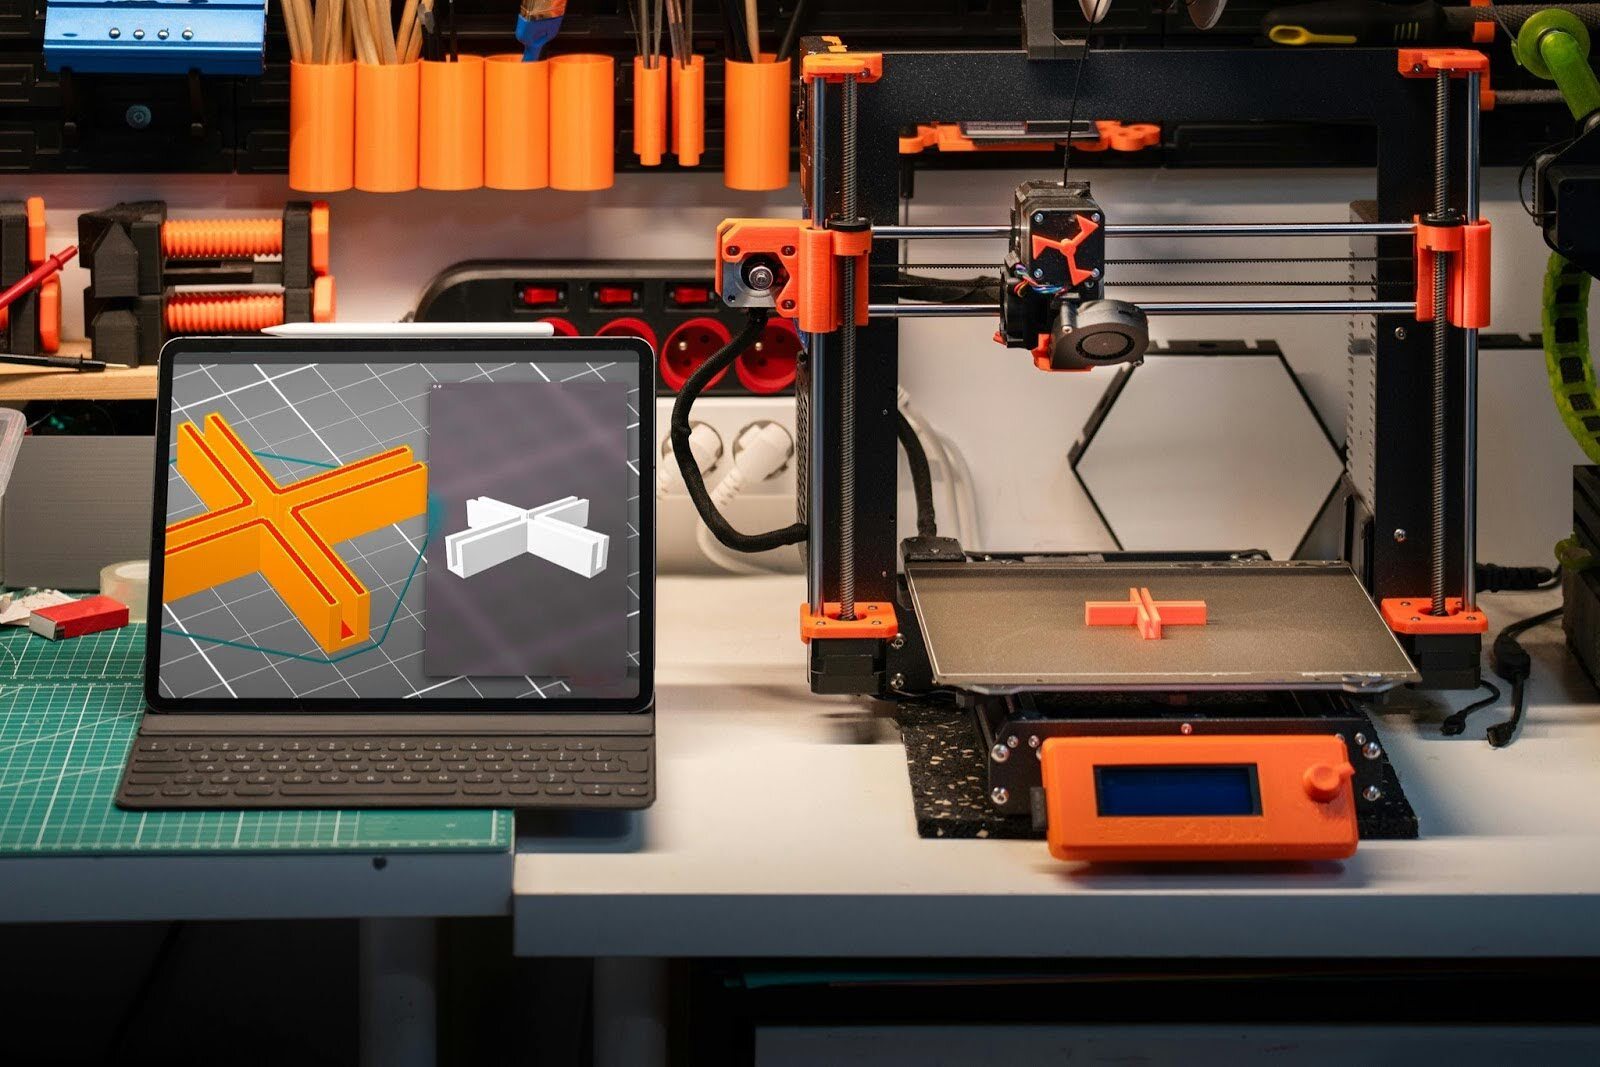
If you’re feeling fancy, you can even scale it, hollow it out, or modify it before printing. But that’s a topic for another day.
A Few “Don’ts” to Keep in Mind
Because, well, some lessons are better learned from others’ mistakes:
- Don’t scan in bad lighting (unless your scanner is completely independent of ambient light).
- Don’t forget to save versions as you edit. Nothing hurts more than losing your progress.
- Don’t assume the scanner “knows” what you want—always double-check the final model before printing.
- Don’t wear black gloves when handling reflective or dark objects—some scanners mistake your hand for part of the object.
You get the idea—be cautious, but don’t overthink it. Perfection is nice, but functionality comes first.
When to Throw in the Towel & Call a Pro?
Sometimes, despite your best efforts, the scan just isn’t working. Maybe the object is too big, too shiny, or too complex.
Or maybe you just don’t have time. That’s when it’s worth consulting a professional scanning service.
They have specialized equipment, experience, and software that can save you hours—or days—of frustration.
And no shame in that. Sometimes the smartest move is knowing when to let someone else handle it.
One More Thing… Practice
Like learning to drive a stick shift, your first few scans might be bumpy. That’s okay. With practice, you’ll learn how to scan an object for 3D printing with precision, speed, and confidence.
Start simple—scan something small and straightforward. Work your way up to more complex shapes as you learn how your scanner behaves.
Before you know it, you’ll be scanning everything in sight—just because you can. (Your cat might not appreciate it, though.)
Wrapping it Up with UMAX: Your Partner in Precision
So now you know how to scan an object for 3D printing—but knowing and doing are two different beasts. Even with this guide in your back pocket, questions, quirks, and unexpected hiccups will pop up. That’s where we come in.
At UMAX, we help you get it right the first time with cutting-edge scanners, expert advice, and reliable support. Whether you’re scanning heirlooms, prototypes, or just something cool you found in the attic, we’ve got your back.
Why struggle alone when you can work with people who actually get it?
Ready to create something worth printing? Reach out to us today, and let’s make your vision tangible.