
Why More Scan Data Isn't Always Better in 3D Scanning
31st Aug 2026
When you're 3D scanning an object, it can be tempting to assume that more data always means a better result.
Scan the surface again. Lower the point distance. Increase the resolution. Capture another pass. Keep going until the point cloud is as dense as possible.
That approach sounds reasonable, but in practice it can create enormous projects without producing a noticeably better model.
High-quality scanning is not about collecting the maximum possible amount of information. It is about collecting the right amount of useful information for the object and the job.
Once the scanner has accurately captured the geometry you need, additional data can increase processing time, memory usage, file size, and cleanup work without improving the final result.
Sometimes the better scan is actually the smaller one.
More Points Do Not Automatically Mean More Accuracy
Resolution and accuracy are related concepts, but they are not the same thing.
A scanner's point distance determines how densely the surface is sampled.
Reducing that distance creates a denser point cloud and can preserve smaller geometric features.
It does not automatically make the scanner itself more accurate.
If an object has a large, smooth surface, collecting points extremely close together may provide very little additional information.
SHINING 3D's current EinScan Trak documentation makes this distinction practical: it recommends smaller point distances for objects with rich surface detail and larger point distances for smoother surfaces. It also notes that smaller point distances require greater computer hardware resources.
That is a useful way to think about resolution.
Use enough point density to describe the geometry that actually exists.
Match Point Distance to the Object
Imagine scanning the side of a vehicle.
Across a broad, smooth door panel, the surface geometry changes gradually.
Extremely dense sampling across that entire area may add millions of points while producing almost the same useful shape information.
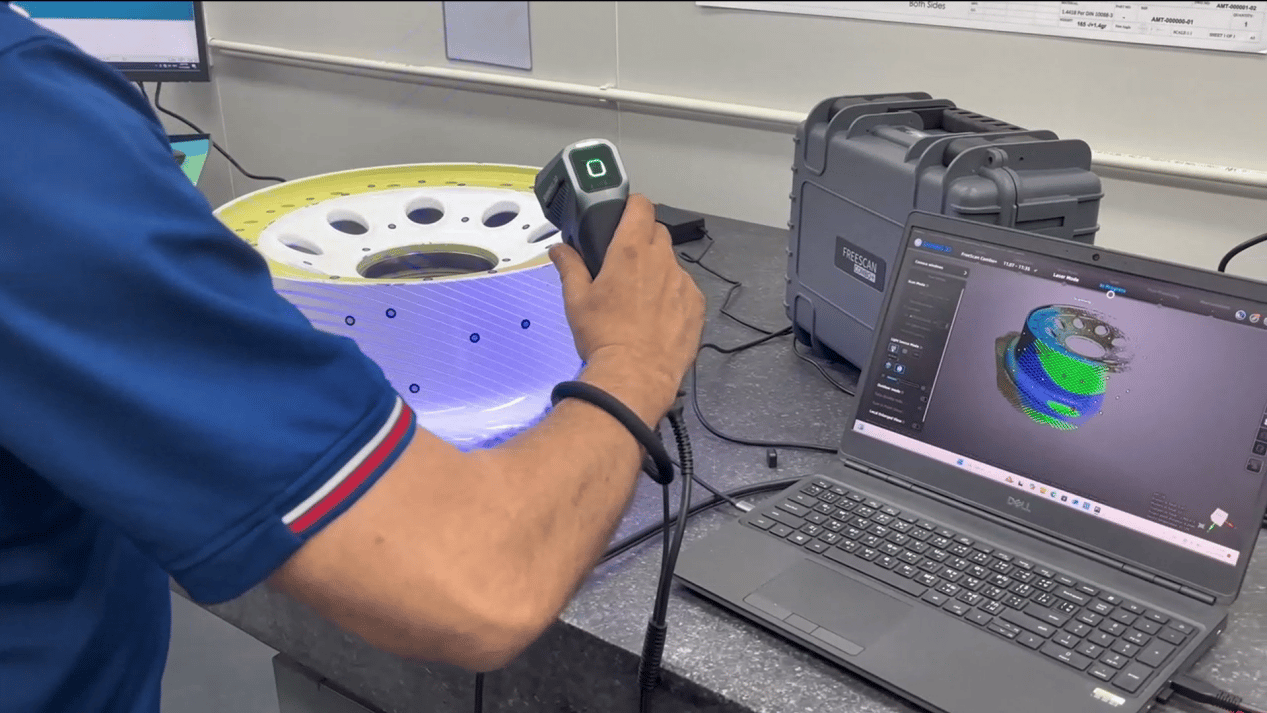
Now compare that with a small machined component containing engraved text, fine edges, narrow grooves, and detailed surface transitions.
Those features can benefit much more from a smaller point distance.
The appropriate scan resolution should therefore be based on the smallest geometry you need to preserve, not simply the smallest setting the scanner allows.
High Resolution Has a Cost
Dense scan data has to be stored, processed, aligned, optimized, and eventually meshed.
As point density increases, so does the amount of information the computer has to handle.
That can mean larger project files, increased RAM usage, longer optimization times, slower meshing, larger final meshes, and heavier CAD or inspection files.
SHINING 3D explicitly notes that smaller point distances require higher computer specifications, while its standalone systems may recommend moving large, high-resolution datasets to a higher-performance PC for meshing.
If the extra data is preserving a feature you actually need, that cost may be worthwhile.
If it is simply creating millions of additional points across a flat panel, it probably is not.
Repeatedly Scanning the Same Surface Has Diminishing Returns
Another common habit is repeatedly passing over an area that has already been captured.
Some overlap is necessary.
The scanner needs common geometry or markers between neighboring regions to maintain tracking and build a consistent model.
But once a surface has clean, complete coverage, scanning it over and over usually produces diminishing returns.
You are no longer revealing new geometry.
You are primarily collecting additional measurements of the same area.
That can increase project size and scanning time without substantially improving the finished model.
A better habit is to watch the live data and move on once an area has sufficient coverage.
Coverage Matters More Than Density
A scan with extremely dense data on 80 percent of an object is usually less useful than a moderately dense scan with complete coverage of the important geometry.
This is especially true for reverse engineering.
A perfectly captured flat surface does not compensate for a missing mounting hole, hidden edge, or critical recess.
Instead of spending all your time maximizing density on easy areas, prioritize complete coverage.
Once the main geometry is captured, concentrate additional scanning effort on the features that actually need more information.
That may include holes, edges, grooves, recessed areas, small mechanical features, or regions with weak data.
Use Data Quality Indicators Instead of Guessing
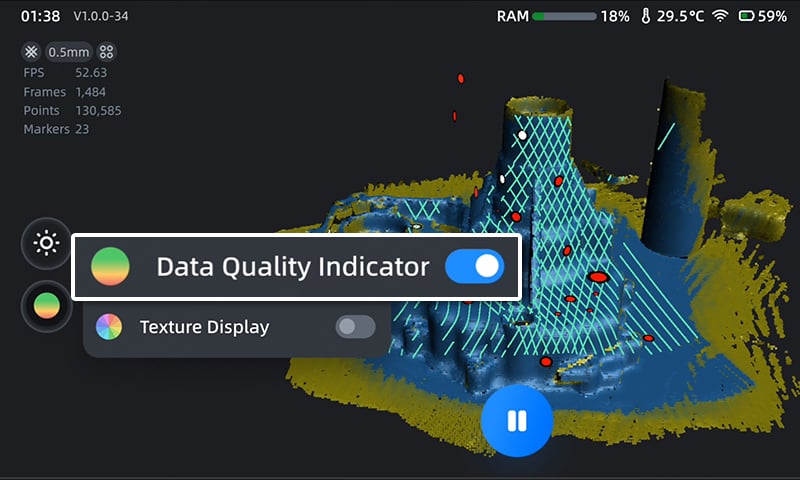
Some modern scanning systems provide live indicators showing where additional data is useful.
For example, SHINING 3D's EinScan Trak documentation describes a Data Quality Indicator that identifies insufficiently scanned regions so the operator can add data specifically where it is needed.
This is a much better strategy than repeatedly scanning the entire object.
Use the software feedback to identify weak areas.
Add data there.
Leave the already complete surfaces alone.
The objective is even, reliable coverage rather than maximum density everywhere.
More Data Can Mean More Noise
Not every captured point is useful.
Reflections, movement, unstable tracking, background objects, excessive brightness, difficult surface materials, and poor viewing angles can all introduce unwanted information.
If a problem area is producing noisy data, scanning it repeatedly may simply create more noise.
The solution is usually to improve the scanning conditions.
Change your angle. Adjust brightness. Prepare the surface. Stabilize tracking. Add markers if needed.
Then capture cleaner data.
Ten clean passes are not automatically better than one clean pass, and ten noisy passes are certainly not.
High Density Cannot Fix Poor Tracking
Tracking errors are another good example.
If the scanner loses its position and creates shifted or doubled geometry, increasing resolution will not solve the problem.
You may simply create a more detailed version of the wrong alignment.
Tracking stability should come first.
Start on recognizable geometry, maintain sufficient overlap, use markers when appropriate, and return to known data if tracking is lost.
Once the scanner knows where it is reliably, then resolution becomes meaningful.
Good geometry captured at a moderate point distance is more valuable than extremely dense geometry built on an unstable alignment.
The Final Mesh May Be Simplified Anyway
There is another reason to avoid unnecessary capture density: much of that data may be reduced later.
Scanning software commonly includes mesh simplification tools specifically because raw high-resolution meshes can become unnecessarily large.
SHINING 3D's software allows users to reduce triangle counts to make large meshes more manageable, while warning that excessive simplification can remove useful detail.
This creates an obvious question.
If the final model only needs a certain level of detail, does it make sense to collect an enormous amount of unnecessary surface data and then immediately simplify most of it?
Sometimes yes, particularly when you want a high-quality master scan that can support several different outputs.
But for routine projects, choosing an appropriate scanning resolution from the beginning is usually more efficient.
Capture Detail Selectively
A much better strategy is to use higher resolution only where it provides useful information.
Many scanning workflows allow the object to be divided into sections or projects with different point distances.
SHINING 3D's EinScan Trak, for example, supports multiple projects with different point distances within the same project group.
This makes it possible to capture a broad body panel at moderate resolution and then scan a detailed mounting area more densely.
That is often far more efficient than capturing the entire object at the resolution required by its smallest feature.
Think of resolution as something you allocate where needed rather than a single quality slider that should always be pushed to maximum.
Large Objects Need a Different Strategy
The effect becomes particularly noticeable on large scanning projects.
Imagine digitizing an entire vehicle, boat, industrial machine, or large sculpture.
At extremely small point spacing, the project can become enormous.
But many of those surfaces may be large and relatively smooth.
Capturing them at extreme resolution does not necessarily reveal useful new geometry.
Instead, use a point distance appropriate for the overall surface, then increase detail around smaller features if the workflow allows it.
This can dramatically reduce project size while preserving everything necessary for the final model.
Small Parts Are Different
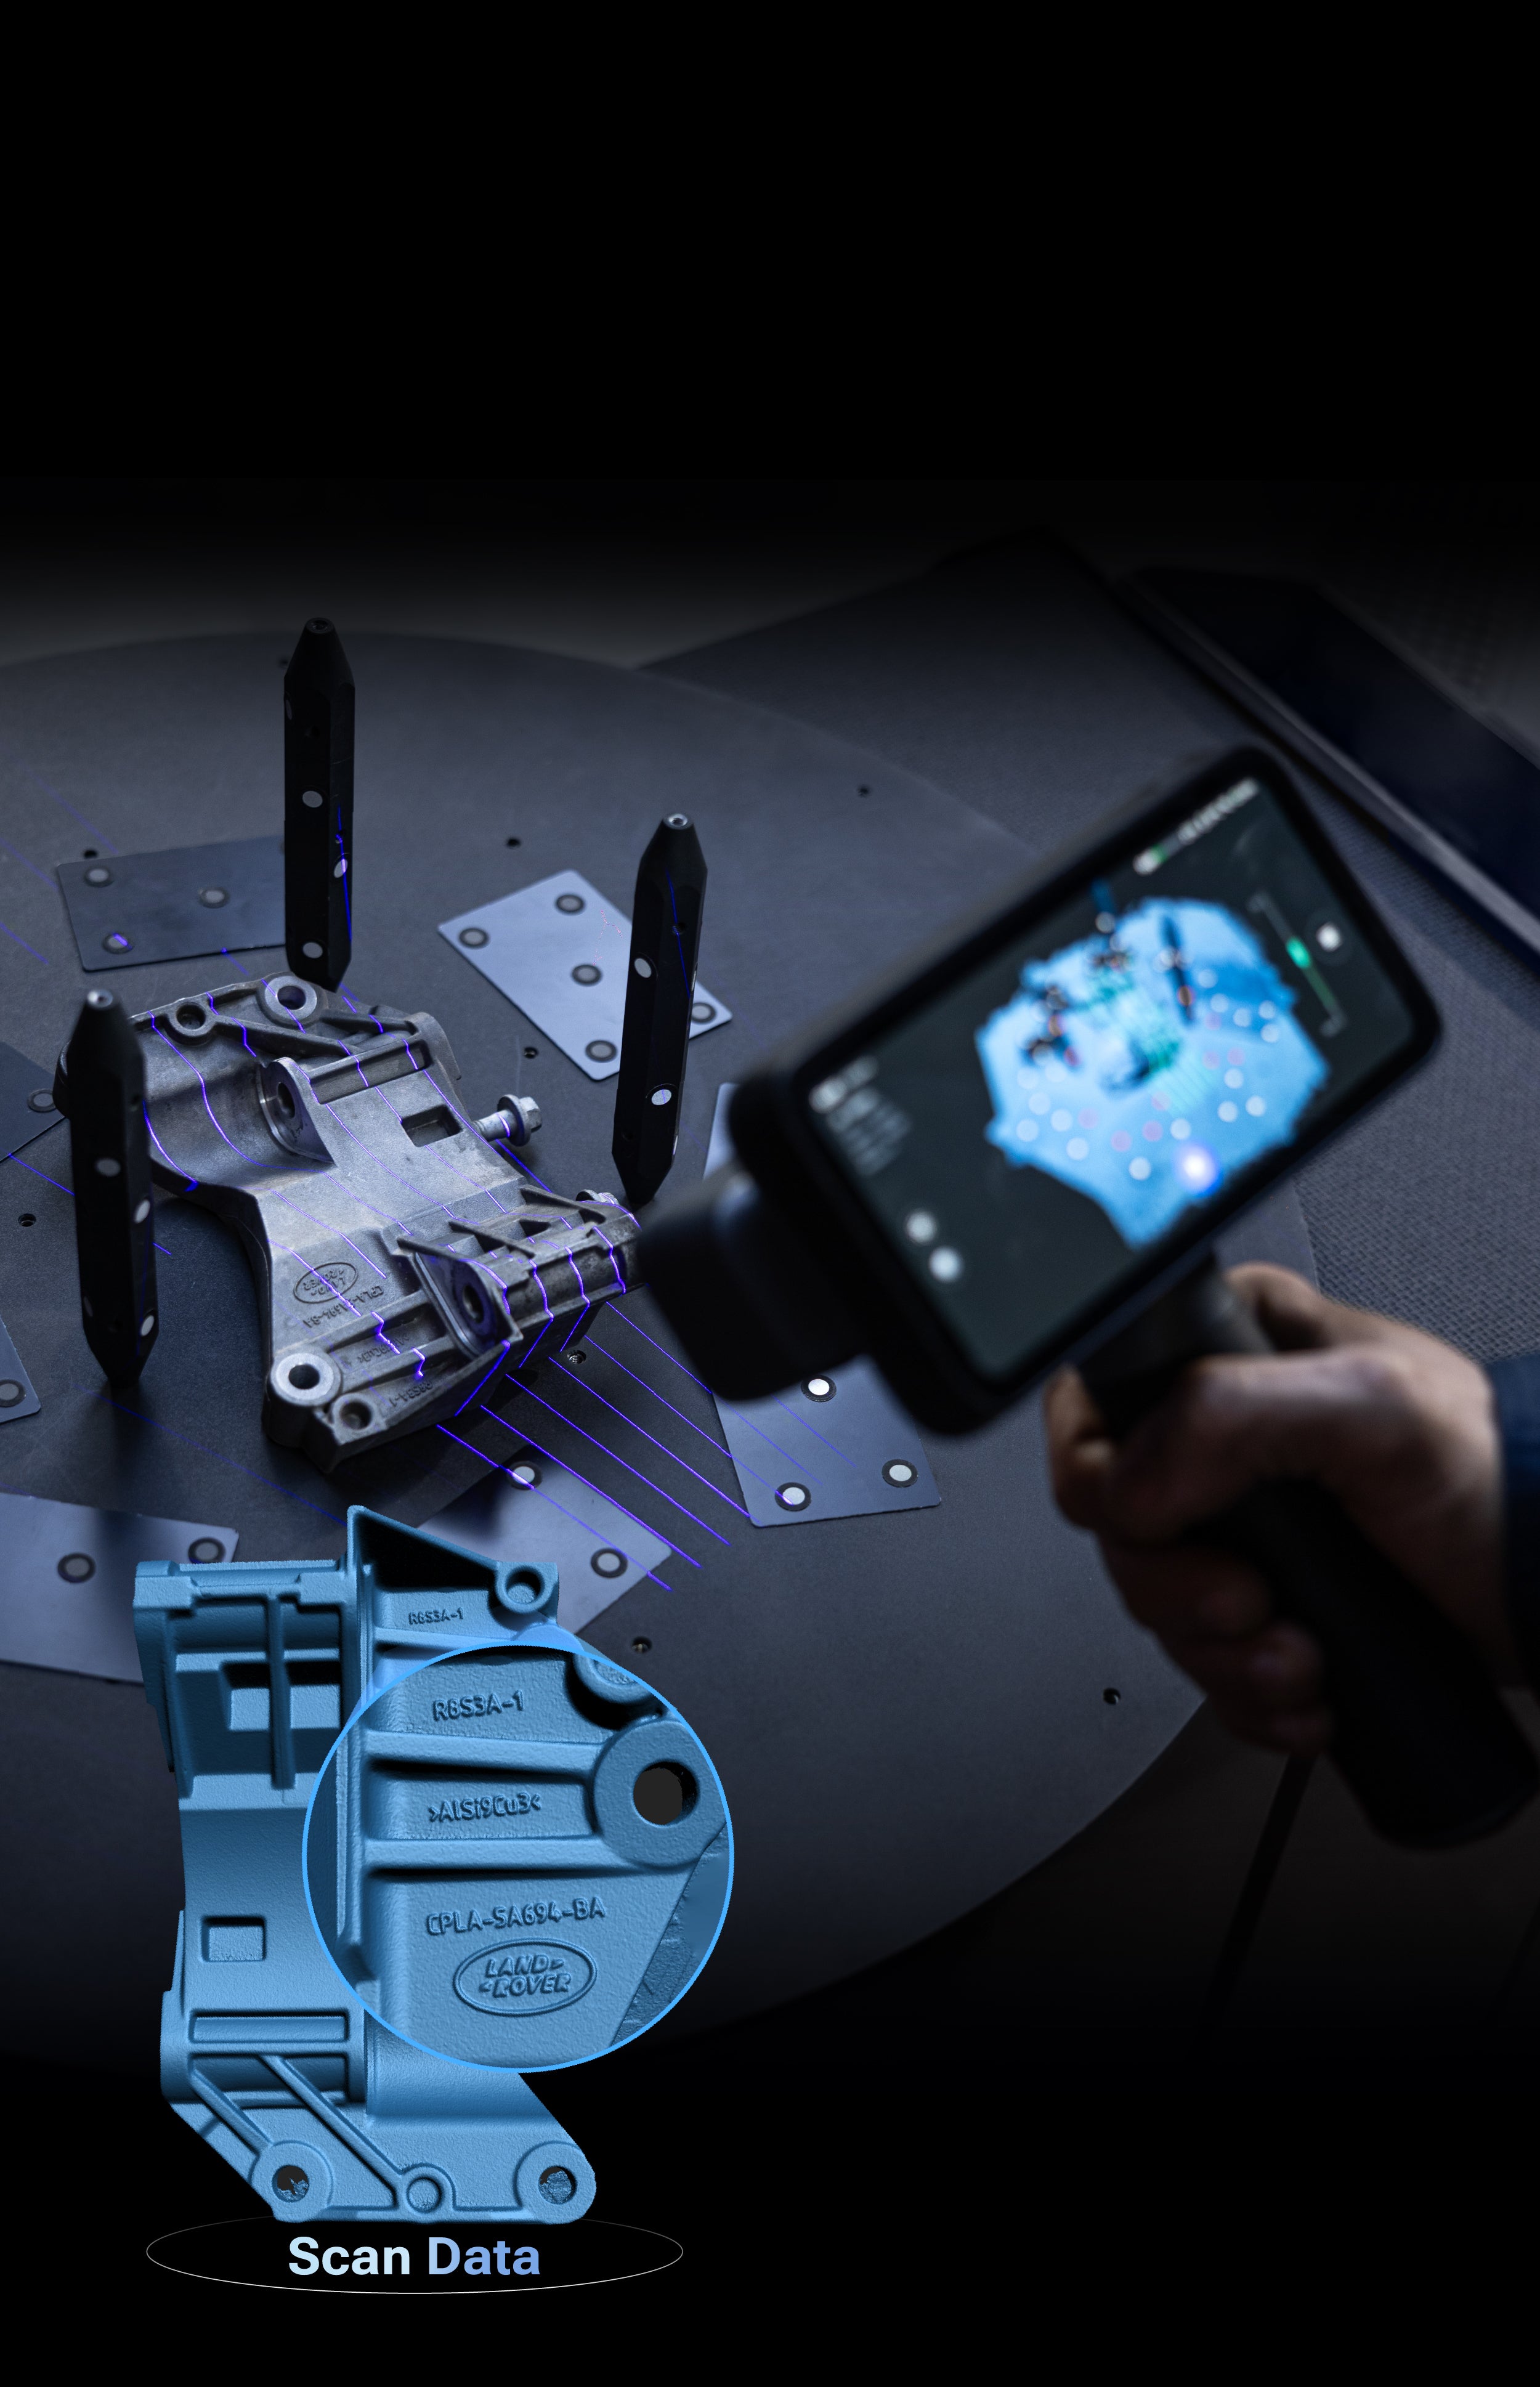
On a small mechanical part, dense scanning may make much more sense.
A component only a few inches across may contain edges, holes, threads, slots, logos, surface transitions, or other small features that represent a significant portion of the object.
A smaller point distance helps preserve those details.
The amount of data also remains relatively manageable because the physical scanning area is small.
This is why there is no single ideal resolution for every scan.
The resolution that is excessive for an entire vehicle may be completely appropriate for a small bracket.
Think About the Final Application
The easiest way to decide how much data you need is to work backward from the final use.
For a visualization model, extremely fine dimensional detail may not be necessary.
For 3D printing, the scan only needs enough detail to support the printer's resolution and the features that will actually survive fabrication.
For reverse engineering, you need enough information to accurately define the geometry that will be reconstructed in CAD.
For inspection, point density needs to support the dimensional features and surface comparisons being evaluated.
Each workflow has a different threshold where additional scan data stops providing meaningful value.
More Data Can Slow Reverse Engineering
Extremely dense meshes can actually become inconvenient during CAD work.
Reverse-engineering software needs to display, rotate, section, fit geometry to, and analyze the mesh.
A massive scan can make every one of those operations slower.
If the extra triangles are not contributing useful geometric information, they become overhead rather than an advantage.
Mesh simplification can help reduce the problem afterward, but choosing appropriate scan density from the beginning often produces a cleaner workflow.
The goal is enough information to reconstruct the part confidently, not the largest STL file possible.
More Data Can Slow Inspection
The same issue applies to inspection.
Full-surface scan data can provide far more information than traditional point measurement, which is one of the major advantages of 3D scanning.
But the inspection software still has to process that information.
Very large datasets may increase alignment time, deviation calculation time, project storage requirements, and reporting overhead.
If the inspection only needs to evaluate relatively broad surfaces and several defined features, extremely fine scan resolution across the entire component may be unnecessary.
Resolution should support the measurement objective.
More Data Does Not Recover Invisible Geometry
There is also a physical limit to what repeated scanning can accomplish.
If the scanner cannot see a surface, more passes from the same angle will not reveal it.
A deep recess, undercut, underside, or hidden feature may require a different viewing direction or a different object orientation.
This is a coverage problem, not a density problem.
If a hole remains empty in the scan, do not assume another twenty passes from the same position will solve it.
Move the scanner.
Reposition the part.
Switch scanning modes if appropriate.
Capture new information rather than more of the same information.
Data Quality Is More Important Than Data Quantity
A useful scan should be clean, stable, appropriately detailed, and complete enough for its intended purpose.
That is a different goal from maximizing point count.
Consider two scans of the same mechanical part.
The first contains 100 million points but includes noisy reflections, duplicate surfaces, large amounts of background data, and several missing critical features.
The second contains far fewer points but has stable tracking, clean surfaces, complete mounting geometry, and appropriate detail around the areas that matter.
The second scan is the better dataset.
Quality is determined by the usefulness and reliability of the information, not by the number at the bottom of the project window.
Example: Scanning a Vehicle Body
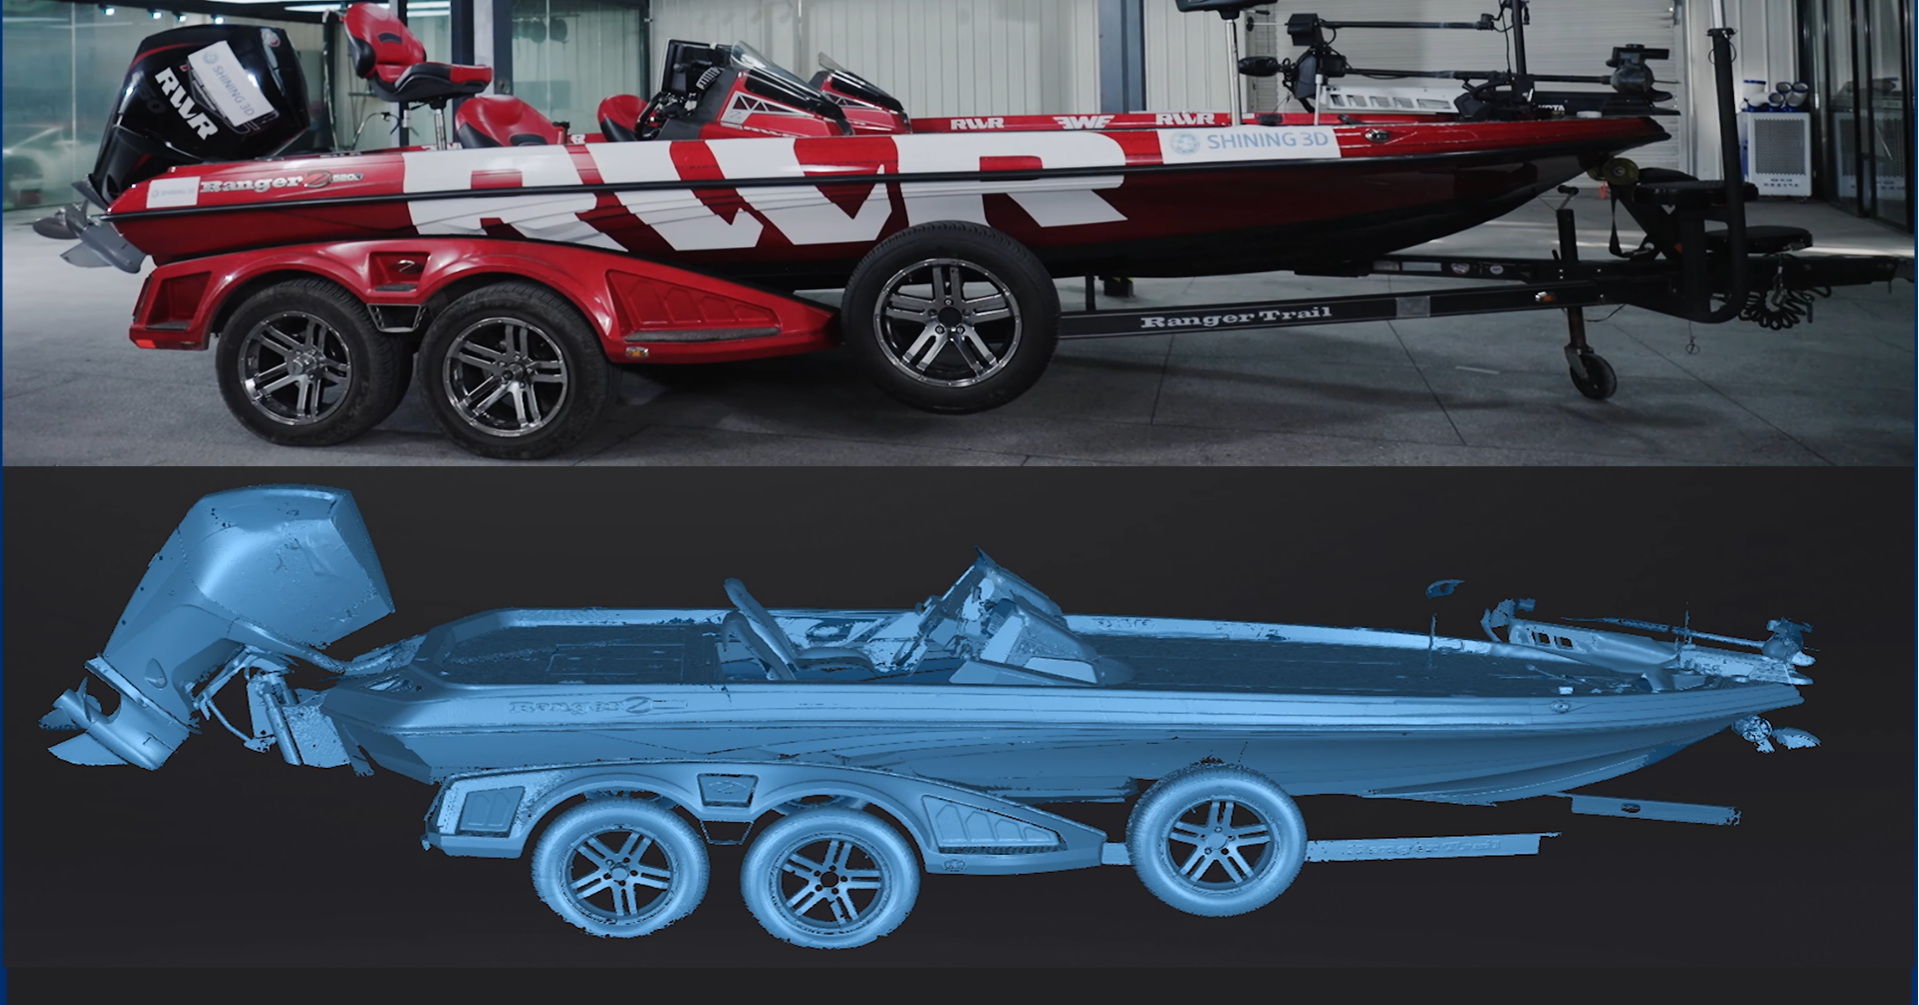
A vehicle body is a good example of where excessive density can become unnecessary.
Most exterior panels are broad and smooth.
They need enough resolution to represent their curvature accurately, but they usually do not require extremely dense sampling across every square inch.
Use a reasonable point distance for the body surfaces and maintain good coverage as you move around the vehicle.
Spend additional scan time around wheel arches, body seams, mounting features, trim areas, and other geometry where smaller details matter.
The result is a manageable project that still preserves the information needed for aftermarket design, customization, or reverse engineering.
Example: Mechanical Housing
A mechanical housing may require a different approach.
Its broad outer walls can often be captured at moderate resolution, but smaller mounting features, edges, bores, and machined transitions may require denser data.
Rather than scanning the entire housing at maximum resolution, concentrate the highest detail where those features exist.
This can reduce project size without compromising the geometry needed to reconstruct the component.
Example: Large Sculpture
For a large sculpture intended for visualization or reproduction, surface shape may matter more than tiny microscopic texture.
A moderate scan resolution can capture the overall form, folds, facial features, and sculpted details while keeping the project manageable.
If certain areas contain intricate carving, those sections can receive additional attention.
There is little value in producing an enormous dataset across smooth areas that contain no additional geometric information.
When Maximum Resolution Does Make Sense
There are situations where capturing as much detail as practical is the right choice.
A small object with extremely fine geometry, a detailed artifact being archived, a precision mechanical component, or a project that may be reused later for unknown purposes can justify a high-resolution master scan.
If the physical object may not be available again, preserving more data can also be worthwhile.
The important distinction is that the extra detail should have a reason to exist.
Maximum resolution should be a deliberate choice, not simply the default setting for every project.
A Better Way to Think About Scan Resolution
Instead of asking:
“What is the highest resolution this scanner can capture?”
Ask:
“What is the smallest feature I actually need to preserve?”
That question immediately connects the scan settings to the job.
If the smallest relevant feature is several millimeters across, you probably do not need an extraordinarily small point distance across the entire object.
If the project contains very fine geometric details, increasing resolution becomes much more justified.
The scanner's maximum capability tells you what is possible.
The object and application tell you what is useful.
Know When You Have Enough Data
A scan is ready when the geometry needed for the project is clean and sufficiently complete.
Look for consistent coverage, stable alignment, complete critical features, and an appropriate amount of surface detail.
Inspect the model from multiple angles.
If important surfaces are missing, add them.
If an area looks noisy, correct the cause and rescan it.
If a surface is already complete and clean, move on.
Knowing when to stop is part of becoming efficient with a 3D scanner.
Conclusion
More scan data can be useful, but only when it contains information the project actually needs.
Higher resolution can preserve smaller details, and additional passes can improve weak areas. But excessive density, repeated coverage, and oversized point clouds can also increase processing time and file size without making the final model meaningfully better.
Good scanning is about balancing detail, coverage, stability, and efficiency.
Choose a point distance appropriate for the object. Capture additional data where quality indicators or visible gaps show that it is needed. Use higher resolution selectively when smaller features require it.
The goal is not to create the biggest possible scan.
It is to create the smallest dataset that still contains everything you need.