
Using Scanning Markers and Marker Helpers
Posted by Paul R. on 30th Oct 2026
Marker Use Overview
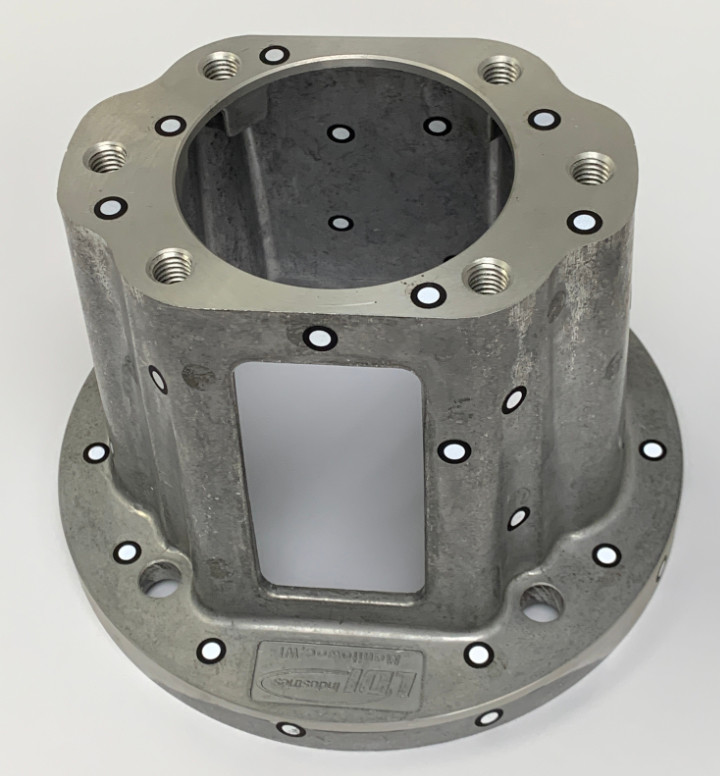
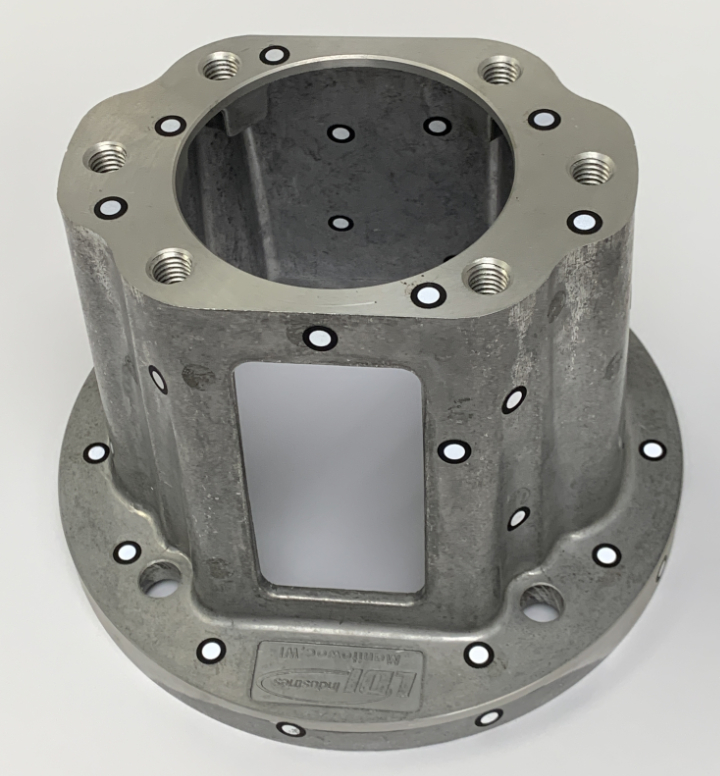
In scanning projects with a lack of contrast in either features or texture patterns, reflective markers give the scanner additional references to ensure a fast and accurate scan. Markers can assist with scanning large surfaces, thin or rounded objects, and objects with sharp or large enough features that tracking may be lost otherwise.
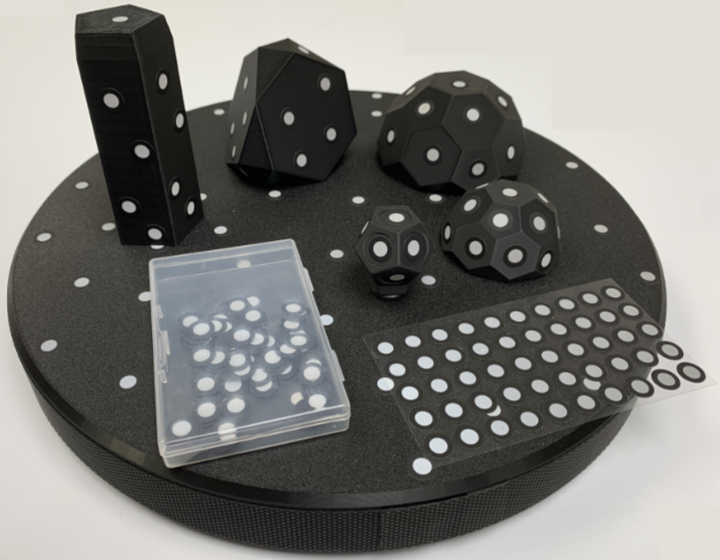
Markers are available in multiple forms. Marker stickers are applied to or around the scanned object, and magnetic markers may be applied to ferrous metal and other magnetic objects. This not only facilitates tracking during an individual scan, but allows improved alignment when connecting multiple scans of a large or particularly complex object. For smaller objects without room for multiple marker stickers, or detailed objects where the marker stickers may interfere with texture mapping, marker helpers such as cards, dunes, dice, and mountains may be placed within the scan field of view (FOV). The turntables combine ease in moving an object during a scan with automatically incorporating markers along a specific scanning plane, assisting with scan revisions, rescans, and artifact cleanup.
Marker Stickers
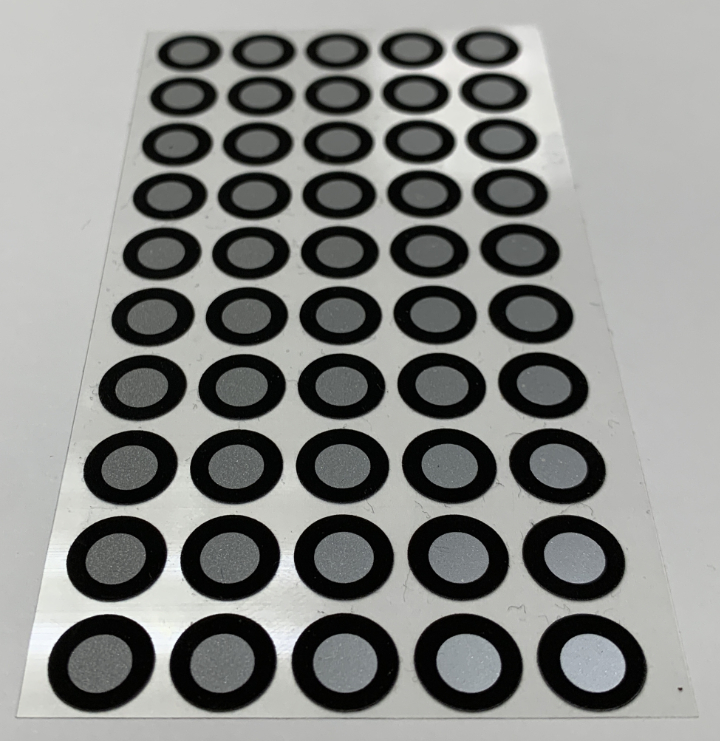
Marker sticker sheets come with EinStar and EinScan scanners, and additional stickers may be purchased separately. Marker stickers are available in three sizes: 3, 6, and 12 millimeters in diameter. These may be applied to plastic, metal, glass, and fabric. To remove marker stickers, use the marker removal tool included with your scanner to minimize marring or damaging the surface. The number of stickers per sticker sheet depends on the diameter:
3mm: 264 stickers per sheet
6mm: 50 stickers per sheet
12mm: 15 per sheet
Magnetic Markers
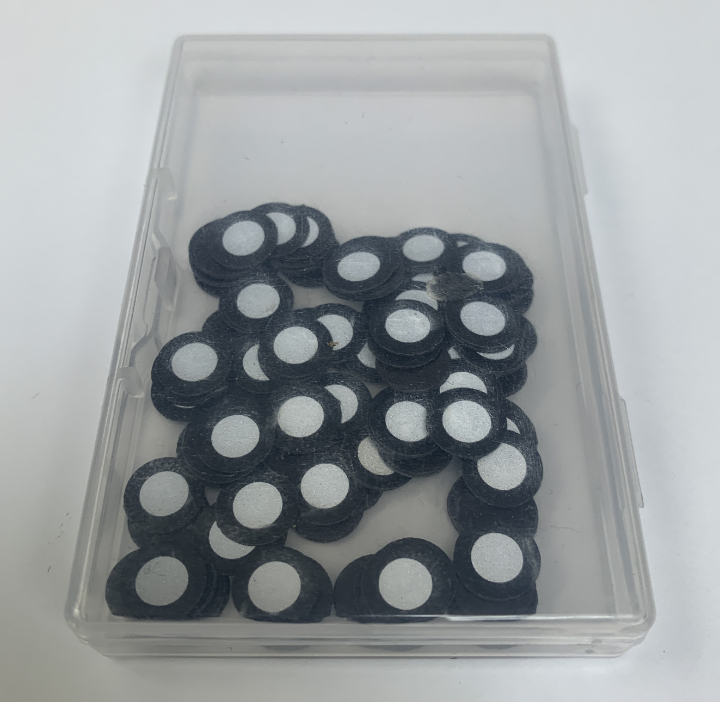
Magnetic markers (available in 6mm diameter) are used on ferrous metallic surfaces where the adhesive on marker stickers may not be effective. As with marker stickers, apply magnetic markers in a random pattern across the object's surface, and make sure that the markers do not overhang edges.
Magnetic markers: 100 per box.
Marker Helpers
In some scanning projects, marker stickers alone are not the best solution. These include objects where the marker sticker adhesive will not stick or could damage the scanned object, objects without enough available space for markers, flat or curved objects where the scanner may not be able to track the minimum number of markers, or texture scans where marker stickers could affect the final results. In addition, having markers outside of a specific plane improves scan accuracy by giving 3-dimensional perspective. In these situations, marker helpers can assist with getting a good scan without directly affecting the scanned object. These include:
Marker Cards
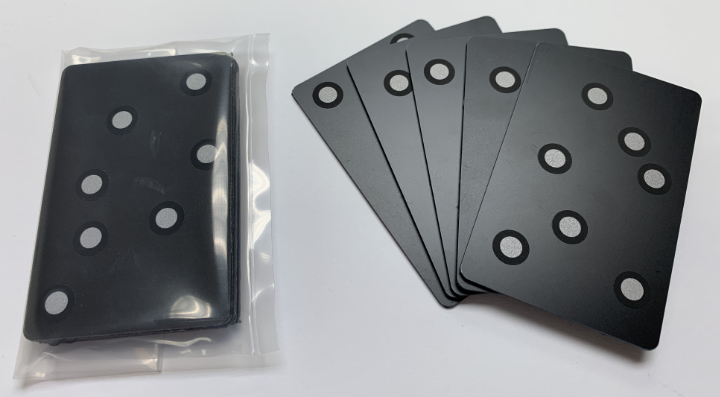
Marker cards are small magnetic cards best for scans of large flat areas or objects. Place the cards alongside the surface or object to be scanned.
Marker Card Measurements: 85.72mm high by 53.98mm wide by 1.59mm deep (3 3/8 inches by 2 1/8 inches by 1/16 inches)
Marker Cards: 10 cards per pack
Dunes
Dunes are rounded domes with a mix of hexagons and pentagons and a marker in the center of each. Small dunes come with and without magnetic bottoms. Dunes come in two sizes:
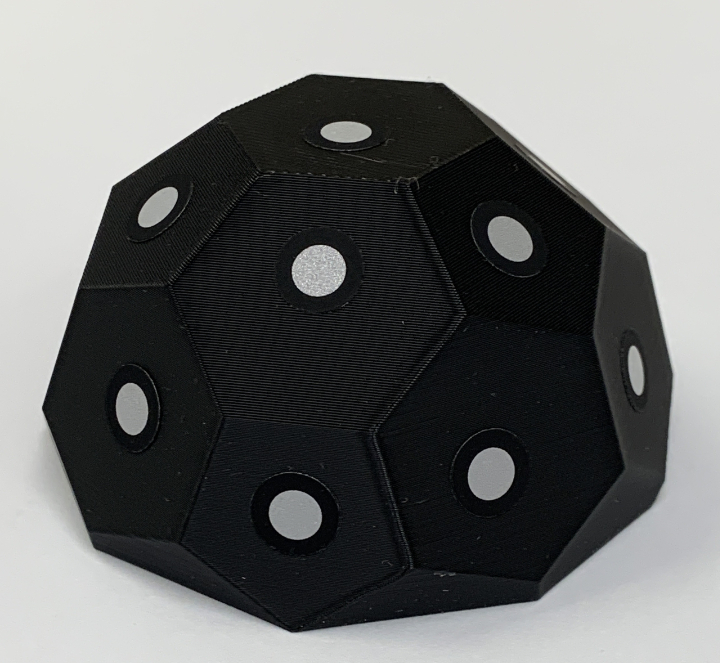
Small Dune Measurements: 51 mm wide by 31.75mm high (2 inches wide by 1 1/4 inches high)
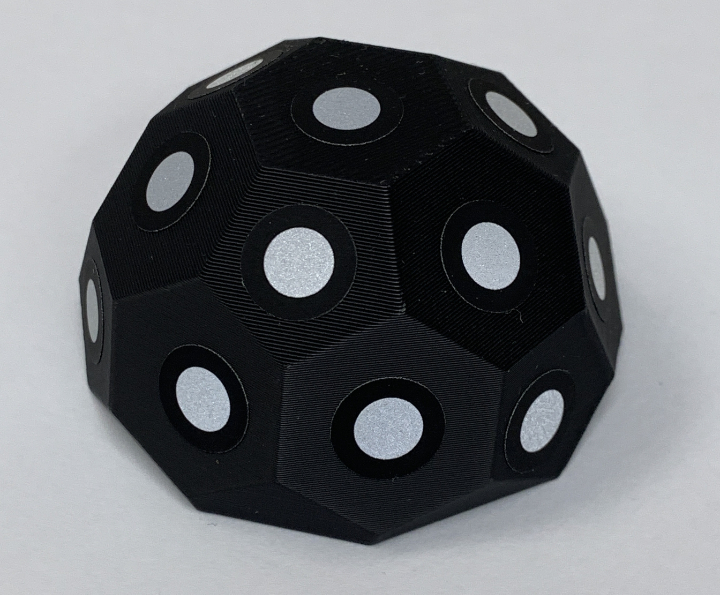
Large Dune Measurements: 76.2mm wide by 44.45mm high (3 inches wide by 1/34 inches high)
Towers
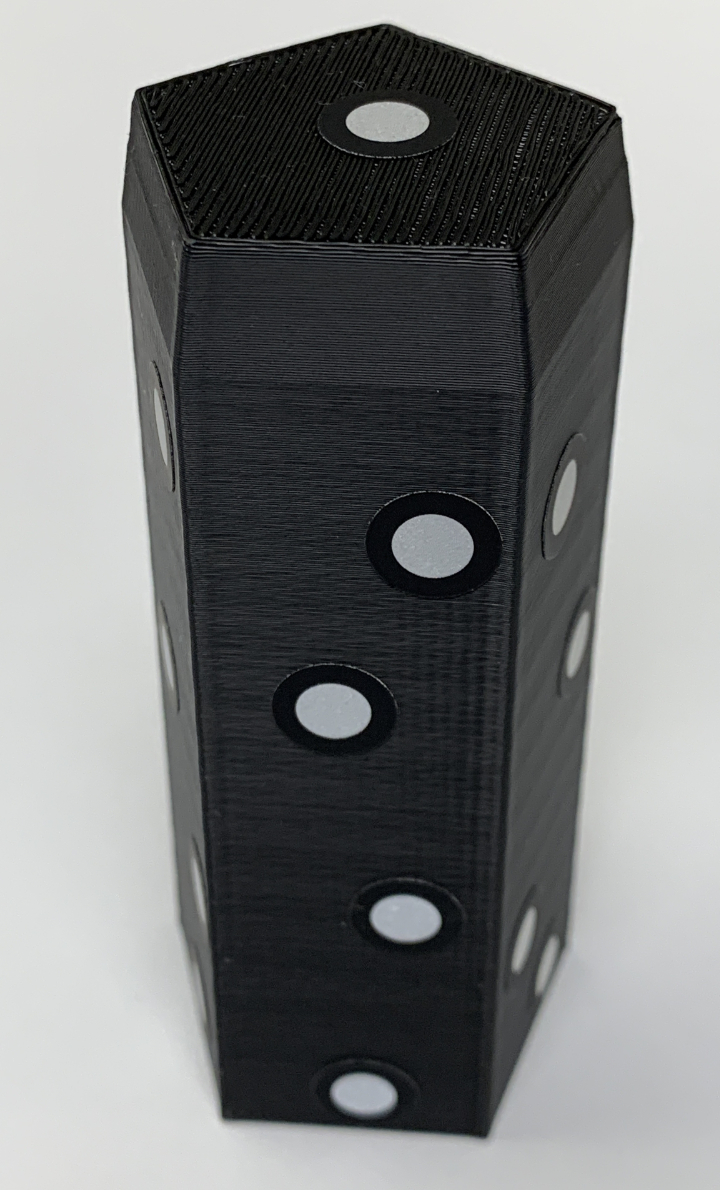
Towers are tall hexagonal columns with markers on the sides and the top. Towers give particular perspective where dunes may be obscured during scanning.
Tower Measurements: 98.43mm tall by 38.1mm wide (3 7/8 inches tall by 1 1/2 inches wide)
Dice
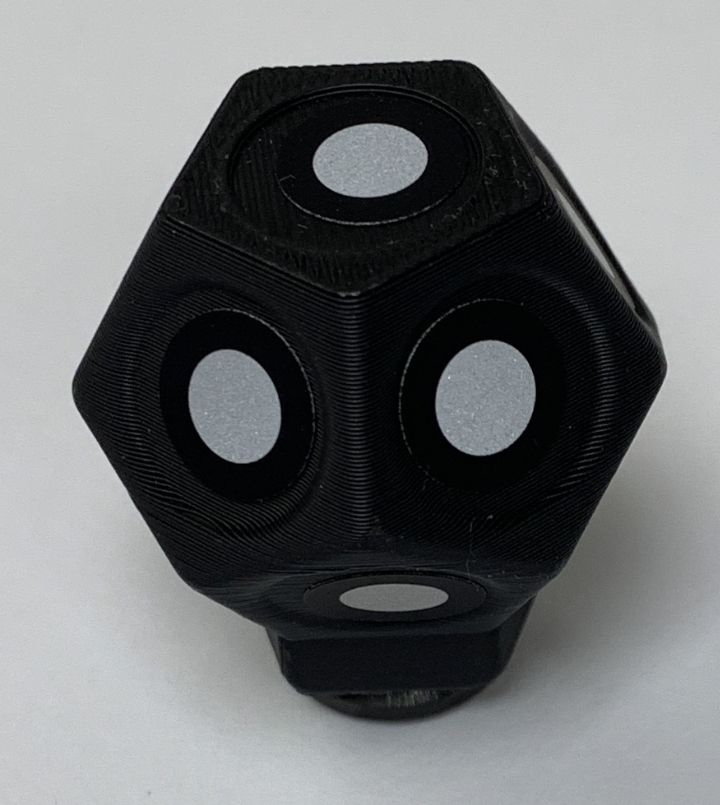
Dice are small scanning objects with multiple pentagons,each with a marker in the center. Dice come with a magnetic bottom for attachment to ferrous metal objects.
Dice Measurements: 38.1mm high by 38.1mm (1 1/2 inches by 1 1/2 inches) at the widest point
Mountains
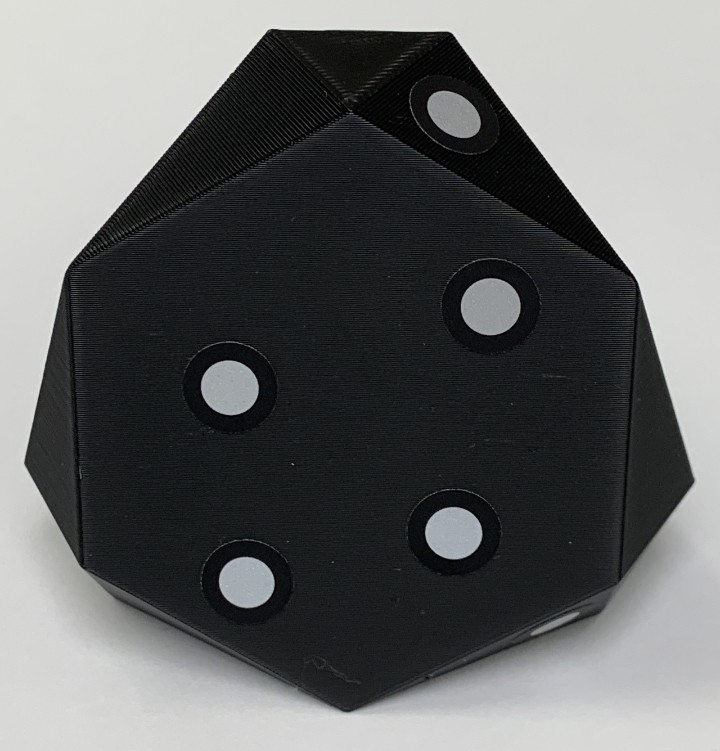
Mountains are larger geometrically irregular objects that combine the features of dunes and towers.
Mountain Measurements: 69.85mm high by 76.2mm (2 3/4 inches by 3 inches) at the widest point
Turntables
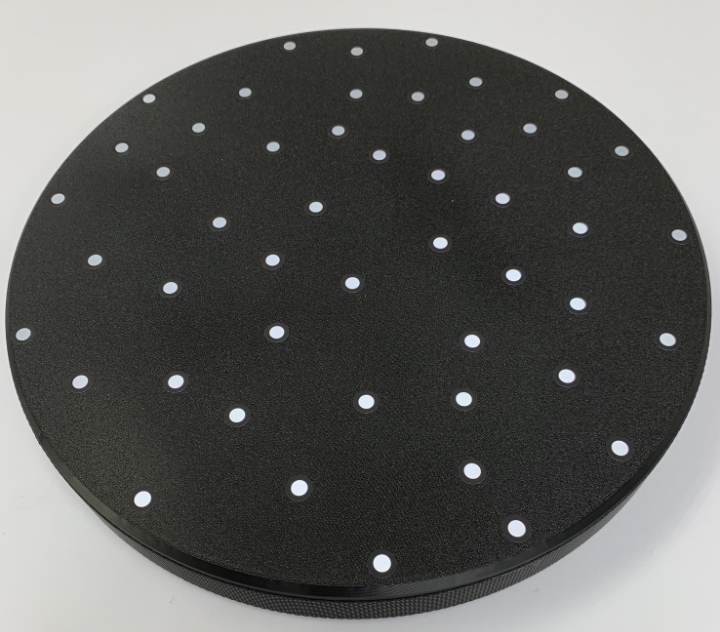
Turntables are spinning scanning surfaces with a top surface enhanced with markers. Turntables allow objects to be scanned from multiple angles and positions without interference.
(NOTICE: Do not use your turntable for items weighing more than 7kg/15.43 lbs.)
Turntable Measurements: 44.45mm high by 304.8mm diameter (1 3/4 inches high by 12 inches diameter)
Best Practices For Marker Use
- Consider the type of scan being done. Markers may be used for both high-definition and fast scans, but cannot be used in conjunction with feature scans. Textures may be captured while making a marker scan, but markers applied to the scanned object will appear as part of the texture. In these sorts of scans, marker helpers are best used instead of marker stickers or magnetic markers.
- When using marker stickers or magnetic markers, make the marker pattern as random as possible to help the scanner track its position. Try not to place markers in long lines or in predictable geometric arrangements. During a scan, at least four markers need to be visible to the scanner at all times, so emphasize marker placement within the scanner's FOV. Using the scanner's preview function to test for correct marker placement before starting a scan is highly encouraged.
- For best results with tall or angular objects, use three or more dunes in a triangular pattern around the object to be scanned. Alternately, use a combination of dunes, mountains, and towers, particularly with objects with deep bends or undercuts. The scanner needs at least four markers visible during the scan, but those markers do not need to be on the same marker helper.
- For ease of repeated scans, marker stickers may be added to dark plastic or fabric, such as black plastic sheeting or black velvet, for a reusable scanning pattern. Use a material with a matte finish to minimize reflections that may cause scanning artifacts.
- Use temporary adhesive putty or double-sided tape to secure marker helpers to surfaces, especially in conditions where the marker helpers may move during the scan.
- When using a turntable, consider securing the object being scanned to the turntable with temporary adhesive putty or double-sided tape to minimize the object's movement. Too much movement with lightweight objects or from vibrations in the turntable may affect the scan's accuracy.
- When applying marker stickers, make sure to apply them in locations where the sticker can go on flat. As tempting as it is to apply stickers to curved surfaces, such as the inside of holes or brackets in an object, the curvature can affect the scan and produce scanning artifacts that lower the quality of the scan or require excessive time to remove. Depending upon the object and the scanner's resolution, try to use the smallest diameter marker stickers in tight spaces rather than have the marker sticker hang over an edge.
- Before starting a scan using markers, use the Preview Scan feature to verify placement and readability of markers and marker helpers, checking for obscured or doubled markers.
- When scanning with markers, start with a high brightness in the Preview Scan feature, then turn down the brightness while ensuring that the markers are still visible, before starting the scan. This verifies marker recognition while conserving battery power.