
Markers in 3D Scanning: When to Use Them and When to Go Markerless
17th Jul 2026
Markers in 3D Scanning
In 3D scanning, tracking is what allows the scanner to understand where it is as it moves around an object. Each new section of scan data needs to line up with the data already captured. When tracking is stable, the scan builds smoothly. When tracking fails, the model can drift, duplicate, misalign, or lose sections of geometry.
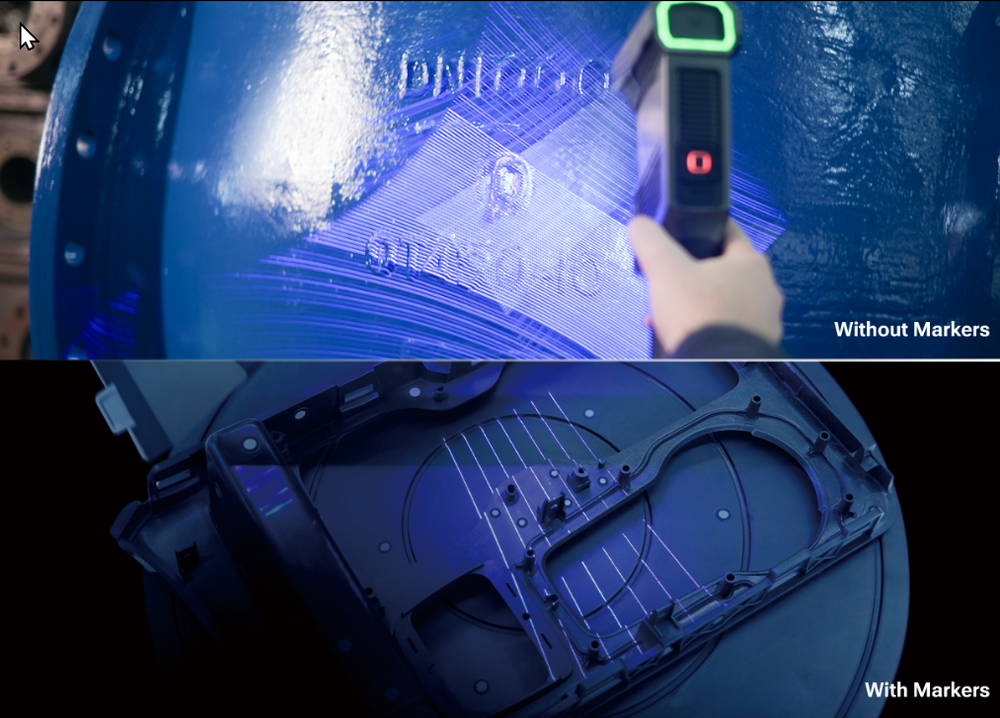
Two common approaches are marker-based scanning and markerless scanning. Marker-based scanning uses small reference targets placed on or around the object to create a stable tracking structure. Markerless scanning relies on the object’s natural geometry, surface texture, color, or visible detail.
Both methods are useful. Markers take more setup time, but they can make difficult scans more reliable. Markerless scanning is faster and cleaner when the object already has enough natural detail. The best workflow depends on the object, scanner, surface condition, environment, and final use of the scan.
Why Tracking Matters
A 3D scanner builds a model over time as the operator moves around the object. The software needs enough reference information to connect each scan frame correctly.
Objects with unique edges, shapes, color changes, texture, or surface details often provide enough information for markerless tracking. Smooth, flat, repetitive, symmetrical, shiny, or very large objects can be more difficult because one area may look too similar to another.
This is why tracking strategy matters. A sculpture or textured product may scan easily without markers, while a smooth metal panel, pipe, or symmetrical machined part may need additional reference points to stay aligned.

What Are Markers in 3D Scanning?
Markers, also called targets or reference points, are small adhesive dots placed on or around an object before scanning. The scanner recognizes these markers and uses them as fixed references while the operator moves around the part.
Markers are especially useful when the object itself does not provide enough trackable information. A flat panel may have very little geometry. A pipe or cylinder can look nearly identical from multiple angles. A large automotive panel may include broad areas with minimal surface variation. Markers give the scanner a unique pattern to follow in situations like these.
In most workflows, markers are not intended to become part of the final 3D model. They are used during scanning to support tracking and are removed, ignored, or cleaned out during processing.
When Markers Are the Better Choice
Markers are most helpful when scan stability matters and natural tracking is not reliable enough. They are commonly used on smooth, flat, simple, symmetrical, repetitive, thin, or large objects.
They are also valuable for inspection and reverse engineering workflows. When scan data needs to support measurement, CAD comparison, or model reconstruction, stable alignment becomes especially important. The extra setup time can be worth it if it helps produce cleaner data and fewer failed scans.
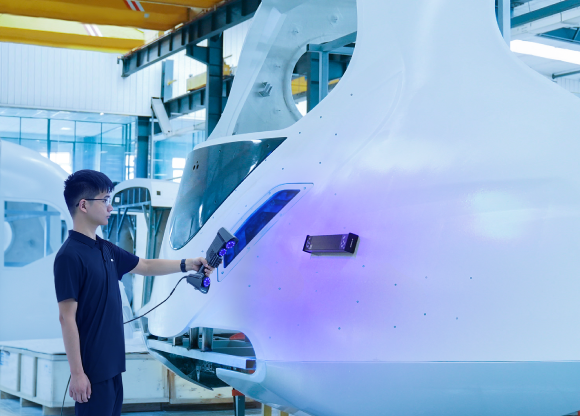
Large objects are another common use case. As the scan path gets longer, small tracking errors can build up across the object. Markers provide a consistent reference structure that helps the scanner stay aligned as the operator moves from one area to another.
How to Place Markers Correctly
Good marker placement is more important than using as many markers as possible. The goal is to create a random, visible pattern that the scanner can recognize from multiple angles. There isnt a set single distance the markers should be apart. Rather its based on each subject's size and contours.
Markers should be spread across the scan area without forming a perfect grid. A random layout creates a more unique reference pattern and reduces the chance of confusing one area with another. The scanner should be able to see several markers(usually atleast 4) at the same time during normal scanning, with enough overlap between marker groups as the operator moves.
Markers should be placed on clean, stable surfaces where they can remain flat and visible. Avoid sharp edges, tight curves, greasy surfaces, dirty areas, or places where the marker may wrinkle, peel, stretch, or distort. A marker needs to appear clean and circular to be recognized properly.
For large objects, think about the scan path before placing markers. The marker layout should support the full area being scanned, not just one section.
Using Markers Around the Object
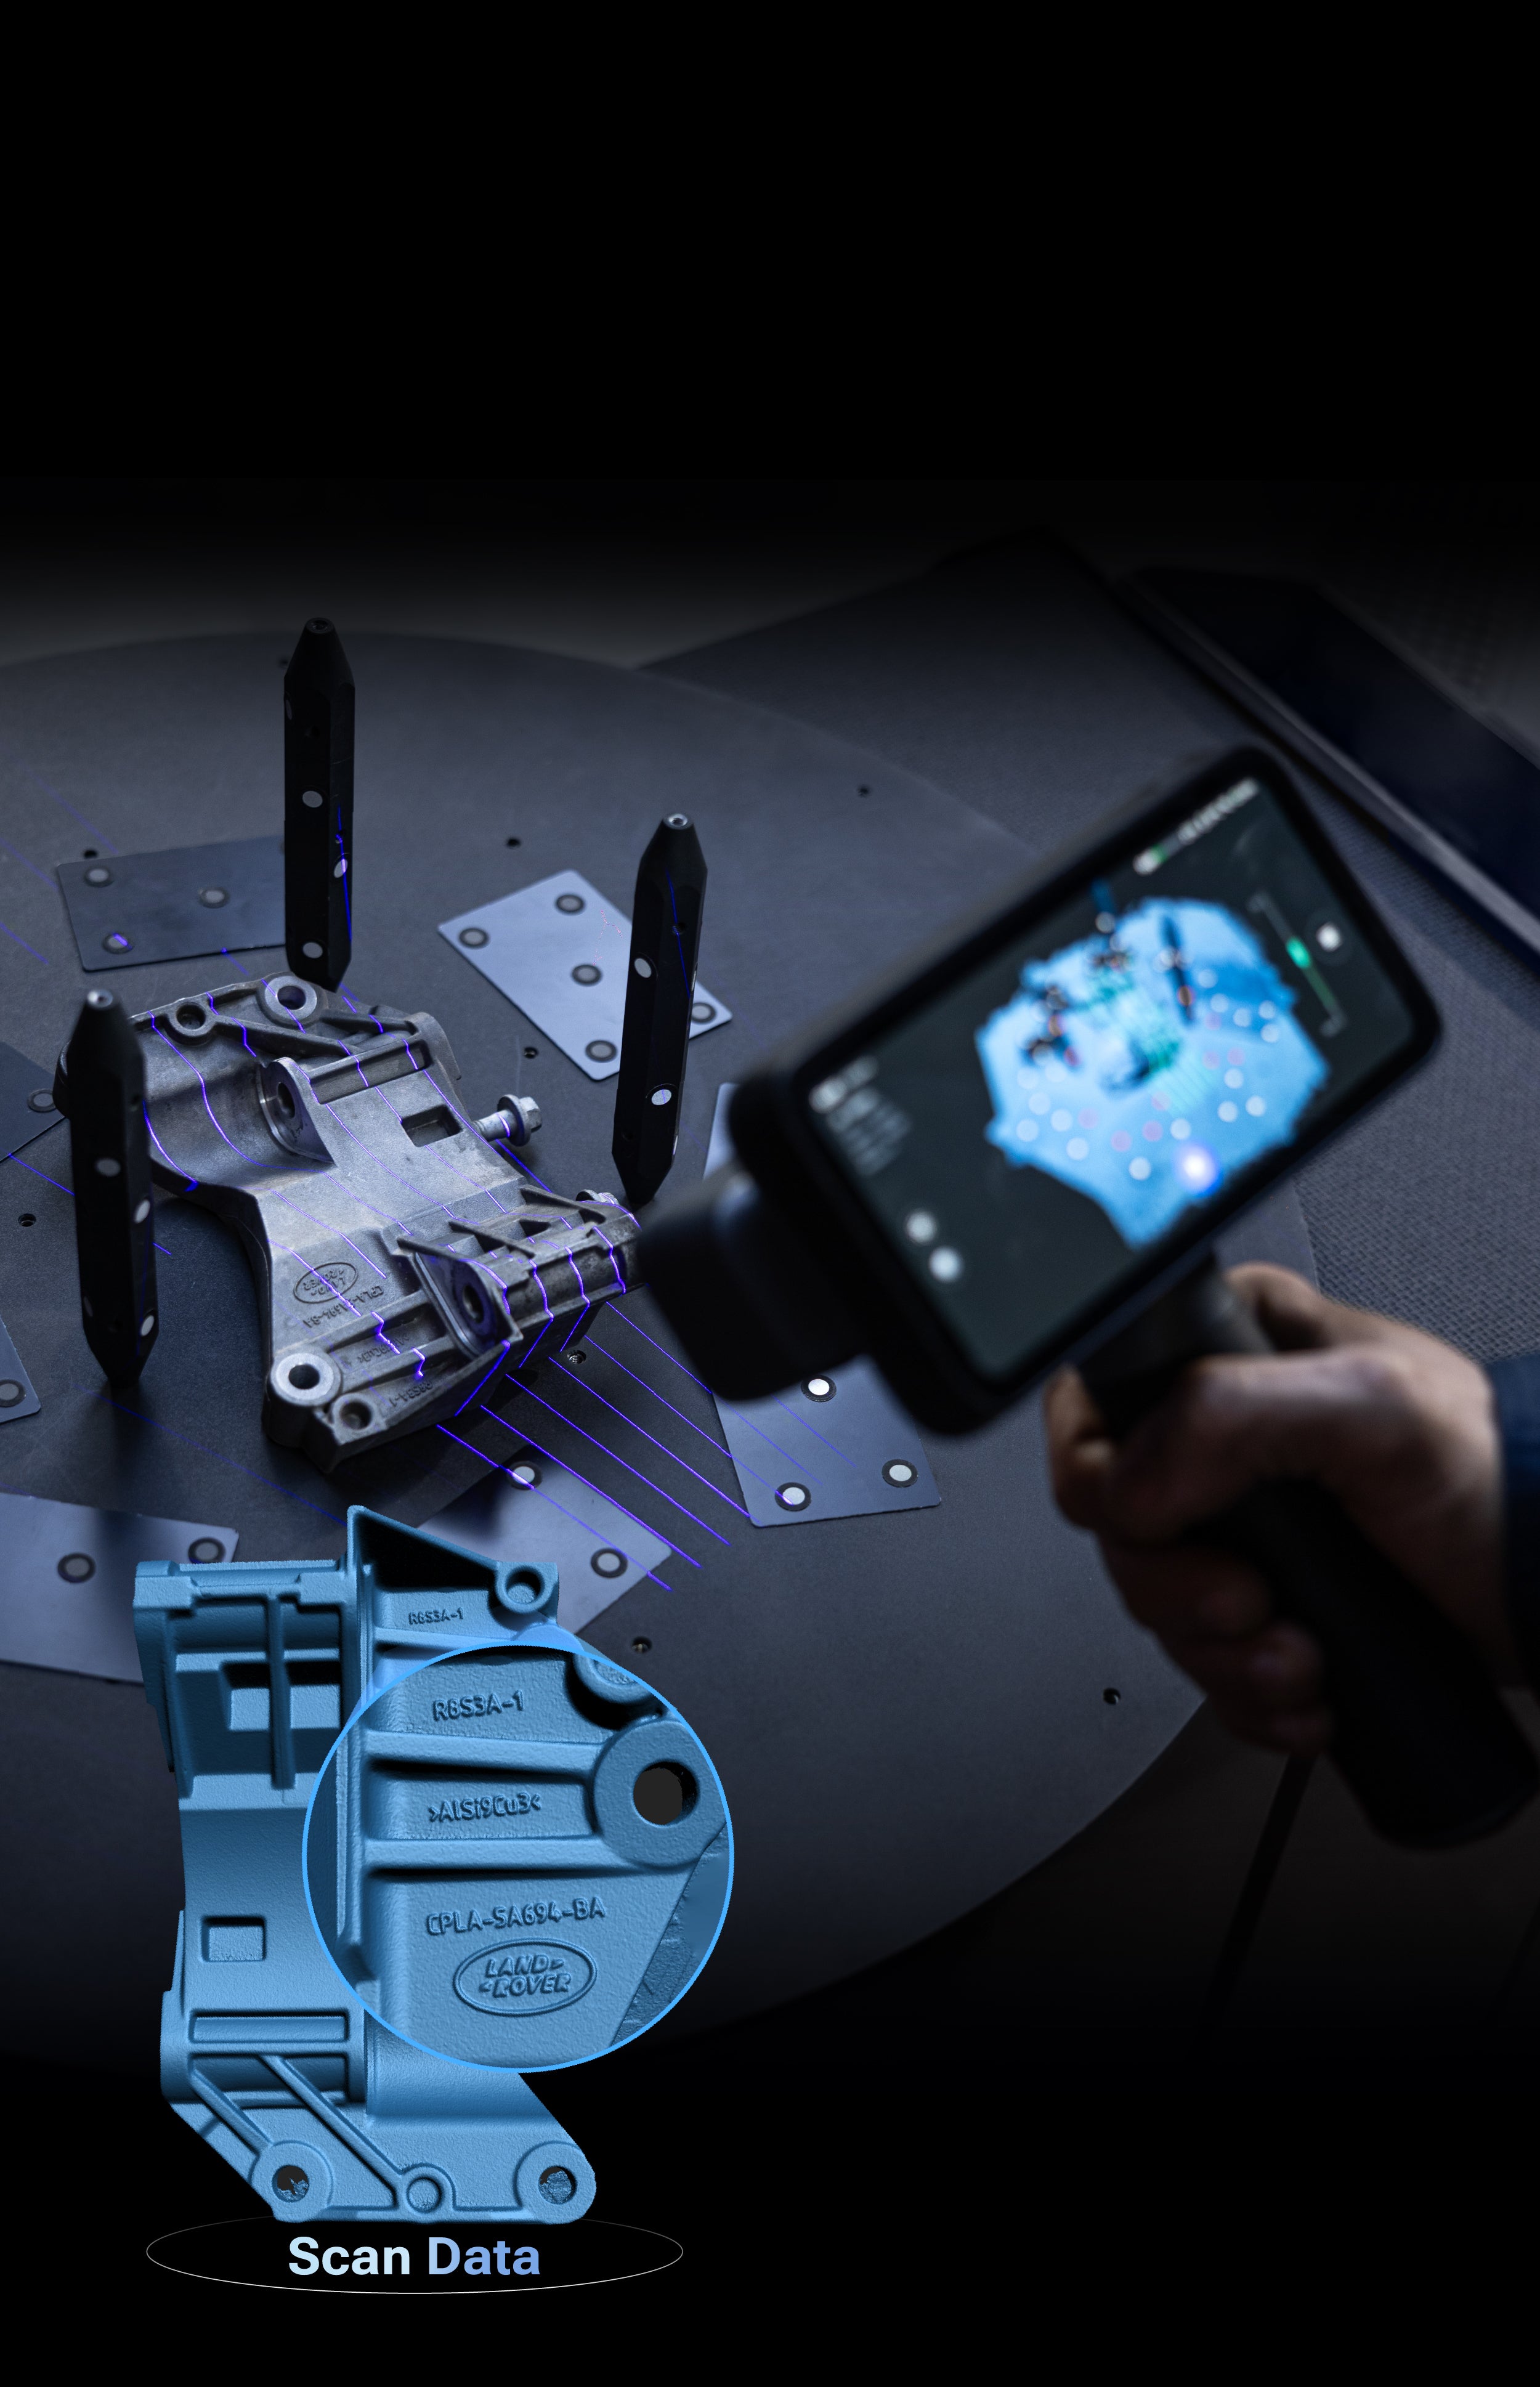
Markers do not always need to go directly on the object. They can also be placed on surrounding surfaces, marker boards, marker domes, turntables, scanning plates, or temporary fixtures.
This is helpful when the object is too small, delicate, polished, painted, or valuable for adhesive markers. For small parts, placing markers around the object can create a stable tracking environment without covering the part itself. For finished or customer-facing surfaces, external markers can reduce cleanup and avoid placing stickers directly on the object.
The object and marker setup must stay fixed relative to each other during scanning. If the markers move separately from the object, alignment problems can occur.
What Is Markerless 3D Scanning?
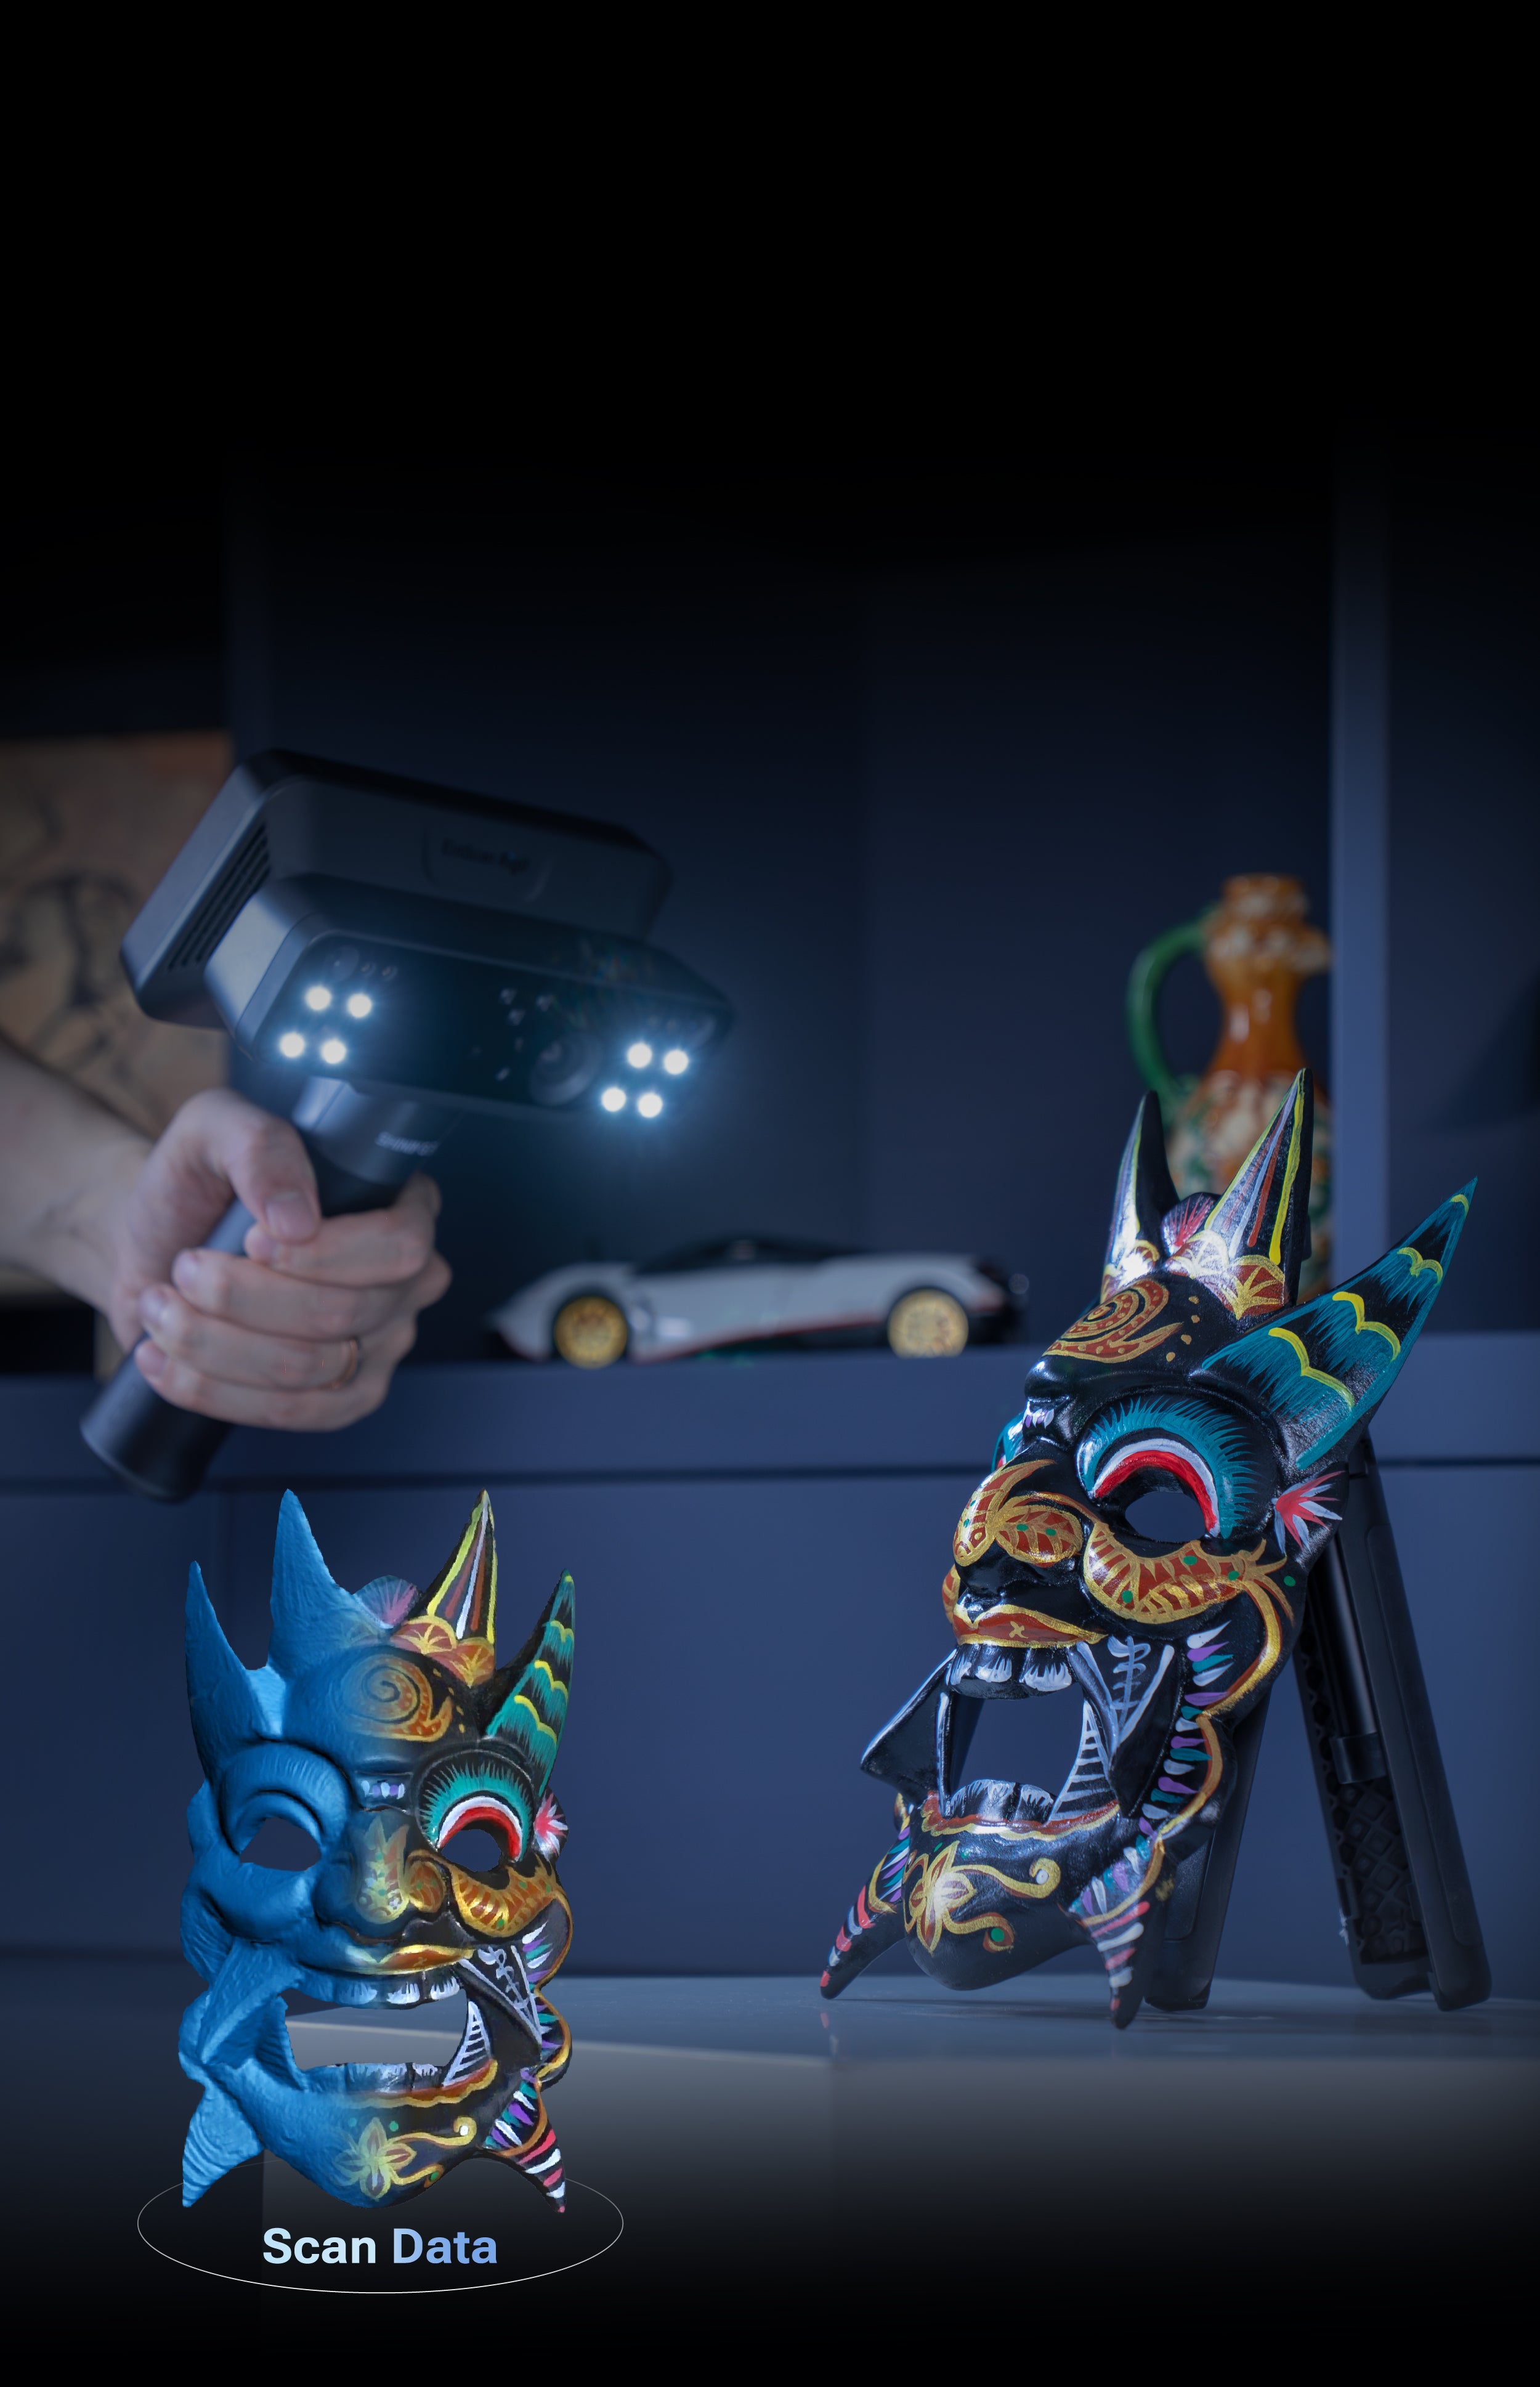
Markerless scanning means scanning without placing targets on the object. Instead, the scanner relies on information already present on the part. Depending on the scanner and scan mode, this may include geometry, surface features, texture, color variation, or infrared data.
The main advantage is speed. There is less setup, less cleanup, and less preparation before scanning begins. Markerless scanning is also useful when the object should not be touched, such as museum pieces, artwork, polished products, painted parts, customer-owned items, or human subjects.
Because there are no stickers on the surface, markerless scanning can also be a better choice when the final model needs clean color texture or a natural visual appearance.
When Markerless Scanning Works Well
Markerless scanning works best when the object gives the scanner enough unique information to follow. Objects with varied geometry, visible texture, color contrast, or strong surface detail usually scan more reliably without markers.
Sculptures, people, shoes, tools, furniture, props, artwork, carved objects, textured products, organic shapes, and objects with labels or color changes are often good candidates. These surfaces give the software recognizable details to follow as the scanner moves.
Markerless scanning is often the best first choice for quick scans, demonstrations, education, 3D printing, digital archiving, cultural heritage, product visualization, and general-purpose scanning. If the scan is stable and the data looks clean, there is usually no reason to add markers.
Common Markerless Tracking Methods
Markerless tracking can work in different ways depending on the scanner and software. Feature tracking uses the physical shape of the object, such as edges, corners, holes, curves, ribs, bosses, and surface changes. This works well for parts with strong geometry but can struggle on flat or repetitive surfaces.
Texture tracking uses visible surface details such as color variation, labels, printed patterns, paint, or markings. This can work well on objects with strong visual contrast, but it depends heavily on lighting and surface visibility.
Some scanners also use infrared or structured-light information to support markerless alignment. These methods can be useful for faster general scanning, human scanning, and larger objects that have enough visible or geometric features.
When Markerless Scanning Struggles
Markerless scanning can become unreliable when the object does not have enough unique information. Flat panels, pipes, tubes, cylinders, plain machined parts, automotive body panels, large sheet metal parts, smooth plastic housings, and repeated industrial geometry can all create tracking problems.
Surface conditions can also make scanning harder. Dark, shiny, transparent, or reflective materials may produce incomplete or noisy data, even if tracking seems stable in some areas. In those cases, markers may help with alignment, but surface preparation or a different scan mode may still be needed to capture the geometry cleanly.
If markerless scanning repeatedly loses tracking or creates misaligned data, the scanner likely needs more reference information. That is when markers, external tracking aids, or a combined workflow can help.
Using Markers and Markerless Tracking Together
Markers and markerless tracking can sometimes be used together when the object has a mix of easy and difficult areas. A part may scan well without markers across detailed sections but need marker support on broad flat surfaces. A large object may track naturally along edges and features but benefit from markers across smooth or repetitive areas.
This combined approach does not need to be complicated. Start with the method that best fits the object. If markerless tracking is stable, keep it simple. If certain areas cause problems, add markers where they are needed. If the scanner supports both methods at the same time, using them together can provide a practical middle ground.

Choosing the Right Method
Markers are usually the better choice when the object is smooth, flat, symmetrical, repetitive, thin, large, or difficult to track. They are also useful when accuracy, inspection, reverse engineering, or alignment confidence matters more than setup speed.
Markerless scanning is usually the better choice when the object has strong geometry, rich texture, visible surface detail, or when speed and surface preservation matter most. It is often ideal for people, sculptures, props, artwork, furniture, digital archiving, color scanning, and many general-purpose projects.
Some projects benefit from both methods. If the object has areas that scan easily and areas that need extra support, a combined workflow can save time while improving stability where it matters.
Final Thoughts
Markers and markerless scanning are both important tools in 3D scanning. Markers take more preparation, but they can make difficult objects much easier to scan. Markerless methods are faster and cleaner when the object has enough natural detail.
The best approach is to match the tracking method to the object. Start with the simplest workflow that is likely to work. If tracking is stable, keep it simple. If tracking becomes unreliable, add markers or external reference aids. By understanding when each method makes sense, users can reduce failed scans, improve alignment, and get cleaner 3D scan data.