
Getting the Most Out of Texture Capture in 3D Scanning
11th Aug 2026
A good 3D scan is not only about geometry. For many projects, the color and surface appearance of the object are just as important as its shape.
Texture capture can make a scan look dramatically more realistic, easier to interpret, and more useful for visualization, archiving, presentation, digital twins, cultural preservation, game assets, product documentation, and virtual experiences.
But strong texture results do not happen automatically. Even when the geometry is captured cleanly, poor lighting, incorrect exposure, glossy surfaces, inconsistent color, or weak camera coverage can leave the final model looking flat, blurry, washed out, or uneven.
Getting better texture quality requires treating color capture as its own part of the scanning process. The scanner may be collecting geometry and color at the same time, but the conditions that produce a good mesh are not always the same conditions that produce a good texture.
This guide covers the most important steps for improving texture capture, from preparing the object and controlling lighting to choosing exposure settings, planning coverage, and refining the final texture map.
Understand What Texture Capture Is Doing
Texture capture records the visible appearance of the object and applies that information to the 3D geometry.
The scanner collects color images while the object is being scanned. Those images are then projected back onto the mesh during processing to create the final textured model.
The quality of that result depends on several things working together:
-
The geometry needs to be complete and properly aligned.
-
The texture cameras need clear, sharp views of the surface.
-
Lighting should remain consistent.
-
Exposure should preserve detail without clipping bright or dark areas.
-
Enough visual coverage must be captured from different directions.
-
The software must be able to map the images cleanly onto the geometry.
If one of these elements is weak, the final texture can suffer even when the scan itself looks good.
Start with Good Lighting
Lighting is one of the biggest factors in texture quality.
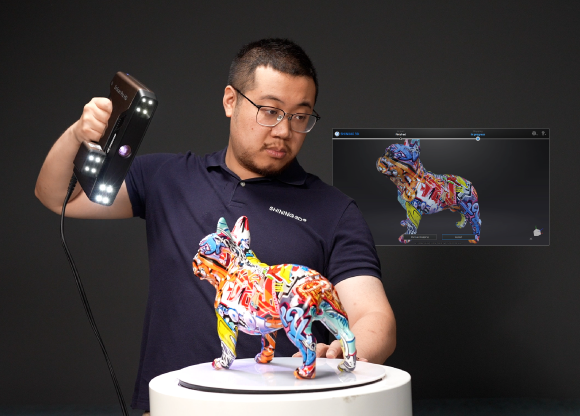
For most texture scanning, soft and even lighting produces the best results. The goal is to make the object clearly visible without introducing harsh highlights, deep shadows, or large changes in brightness as you move around it.
Diffuse indoor lighting is usually easier to work with than direct sunlight or a single bright spotlight.
If one side of the object is brightly lit while another side is in shadow, the texture images may record very different color and brightness values. When those images are mapped together, the final model can develop visible seams or inconsistent tones.
A better setup uses several soft light sources around the object or a large diffuse light source that spreads illumination evenly across the surface.
Light tents, softboxes, diffusers, or even reflected light from white walls can help create a more uniform environment.
Avoid Direct Sunlight
Outdoor scanning can be useful, but direct sunlight is often difficult for texture capture.
Sunlight creates strong highlights and shadows, and those conditions can change quickly if clouds move or the operator changes position around the object.
A surface that looks evenly lit from one side may become much darker from another. Reflective materials can also produce bright glare that overwhelms the texture camera.
If outdoor scanning is necessary, working in open shade is usually better than scanning in direct sun.
A cloudy day can also provide excellent natural diffusion because the sky acts like a large soft light source.
The key is consistency. The more stable the lighting remains throughout the scan, the easier it is for the software to create a uniform texture.
Watch for Mixed Color Temperatures
Another common problem is mixing different types of light.
For example, a room may contain warm overhead lighting while daylight enters through a nearby window. One side of the object may appear yellow or orange while the other appears cooler and more blue.
The scanner records those differences.
When the images are combined, the final texture can show noticeable color shifts across the surface.
Whenever possible, use one primary type of lighting throughout the scan.
If you are using artificial lights, try to use matching fixtures with similar color temperatures. If you are relying on daylight, reduce competing indoor lighting.
Consistent color temperature helps the final model look much more natural.
Set Exposure Carefully
Exposure controls how bright or dark the texture images appear.
If the exposure is too high, light-colored areas may become completely white and lose detail. If it is too low, dark areas can collapse into black and lose visible surface information.
The best exposure keeps detail visible across as much of the object as possible.
Before starting the full scan, use the scanner’s preview to inspect both the brightest and darkest areas.
Look at white labels, polished surfaces, dark plastics, deep recesses, and any areas with strong contrast.
If highlights are already blown out in the preview, lowering exposure slightly may preserve more information.
Likewise, if dark areas contain no visible detail, a small increase in exposure may help.
The goal is not always to make the image look as bright as possible. It is to preserve useful information.
Be Careful with Automatic Exposure
Automatic exposure can be convenient, especially when scanning objects with relatively consistent surfaces.
However, it can also create inconsistent textures if the camera continuously adjusts brightness while moving around the object.
For example, when the scanner points toward a dark area, automatic exposure may brighten the image. When it moves toward a lighter area, it may reduce brightness.
Those changes can cause different sections of the same object to appear lighter or darker in the final texture.
If the scanner allows manual exposure control, a fixed setting can sometimes produce more consistent results.
Automatic exposure can still work well, but it is worth monitoring the preview during the scan to make sure the brightness is not shifting excessively.
Prepare the Object for Texture Capture
Object preparation matters for texture just as much as it does for geometry.
Dust, fingerprints, grease, residue, and temporary markings can all become part of the final texture.
Before scanning, clean the object carefully if its appearance matters.
For archival, visualization, or presentation work, even small fingerprints on a glossy surface can be surprisingly obvious once the texture is wrapped around the final model.
At the same time, avoid cleaning or altering objects when preservation requirements prohibit it.
The goal is simply to make sure the visible surface matches how you want the final digital model to appear.
Think Carefully Before Using Scanning Spray
Scanning spray can dramatically improve geometry capture on reflective, transparent, or very dark objects, but it can also destroy the natural texture.
A white or gray scanning spray covers the original color and appearance of the surface. That may be perfectly acceptable for reverse engineering or inspection, but it is usually undesirable when texture is important.
If both accurate geometry and natural color are needed, consider separating the workflow.
You may capture the geometry using surface preparation, then capture the texture separately after the coating is removed.
Another option is to use a sublimating spray that disappears after a period of time, provided the material is safe for the object.
The best approach depends on whether geometry accuracy or visual appearance is the higher priority.
Remove Temporary Tracking Aids When Possible
Reflective markers, tape, sticky notes, and temporary tracking features can appear in the captured texture.
If the final model needs a clean, presentation-quality appearance, these items may need to be removed later in post-processing.
When possible, place tracking aids in less visible areas or use a scanning mode that can rely on geometry or texture tracking instead.
For objects that require markers, you may also perform a separate texture pass after the markers are removed.
That can provide the tracking stability needed for the scan while still producing a cleaner final appearance.
Use Texture-Rich Surfaces to Your Advantage
Visible surface patterns can help with both texture quality and tracking.
Printed graphics, labels, natural variation, paint patterns, fabric, wood grain, scratches, and other unique visual features give the scanner more information to work with.
These details can also make texture alignment more reliable because the software has recognizable visual references between frames.
Very uniform surfaces are more difficult.
A plain white object, for example, may contain almost no visible texture information. The geometry may still scan correctly, but the final texture may appear flat because there is simply not much color variation to record.
Keep the Scanner Moving Smoothly
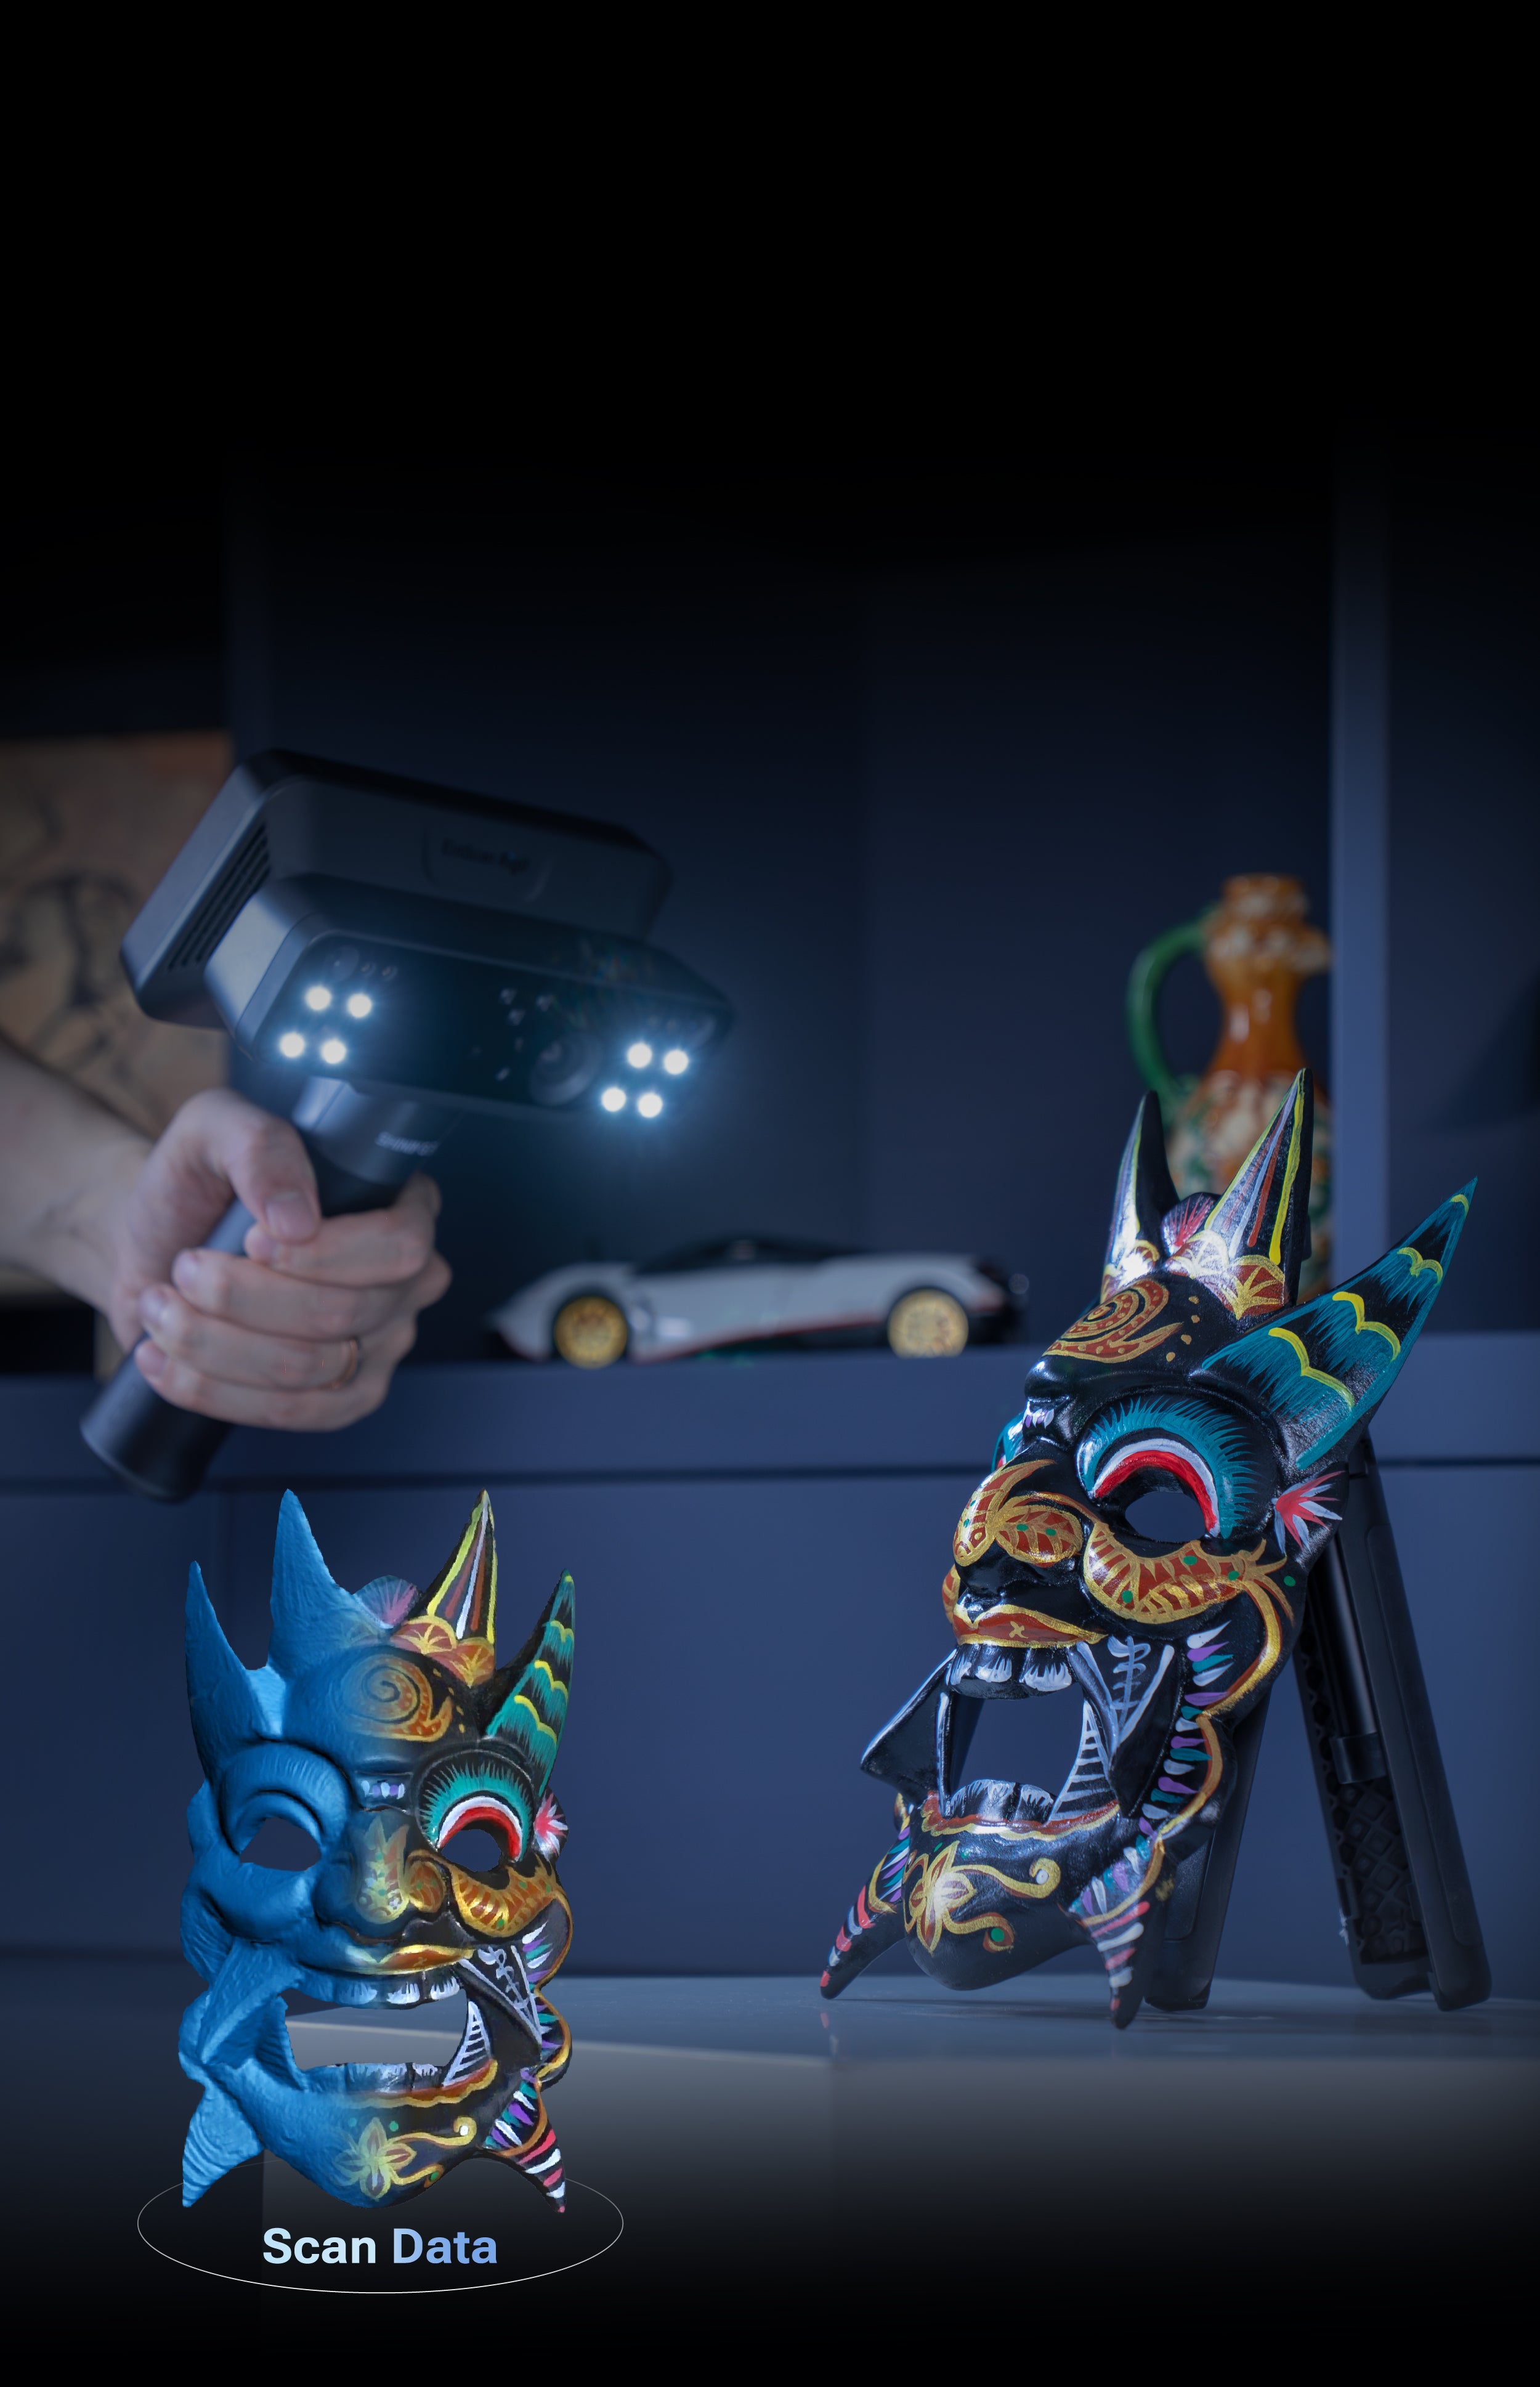
Texture cameras are still cameras, even when they are part of a real-time 3D scanning system.
Fast or erratic movement can reduce image sharpness and create less consistent texture data.
Move the scanner smoothly around the object and avoid sudden direction changes.
This is especially important in lower-light conditions, where the camera may need a slightly longer exposure.
A stable scanning motion gives the texture system more consistent views and reduces the chance of blurry image data.
Capture Every Important Surface from Multiple Angles
Geometry can sometimes be reconstructed from limited angles, but texture mapping benefits from strong visual coverage.
If a surface is only seen from a steep angle, the texture applied to it may appear stretched, blurry, or lower quality.
Try to capture important surfaces from a more direct viewing angle whenever possible.
For example, if you are scanning the top of an object, do not rely entirely on images captured from the side. Raise the scanner and capture the top surface more directly.
Likewise, deep recesses, undersides, and vertical walls should be viewed from angles that give the texture camera a clear line of sight.
Good coverage provides the software with better source images to choose from during texture mapping.
Do Not Forget Small or Hidden Areas
It is easy to focus on the main visible surfaces and overlook small recessed areas.
Handles, gaps, cavities, undercuts, interior corners, and undersides can end up with weak or missing textures even if the geometry is complete.
Before ending the scan, inspect the object carefully and ask whether every visible area has been seen clearly by the texture camera.
A few extra passes can make a major difference in the final result.
This is especially important for models that will be viewed interactively, where users may rotate the object and see areas that were not obvious during scanning.
Avoid Overlapping Moving Objects
Texture capture can become confused if objects in the background move while scanning.
People walking behind the subject, moving equipment, swinging cables, or shifting fabric can appear in different positions across the texture frames.
While the geometry software may ignore some of this information, the texture system can still use unwanted background images during processing.
A quiet, stable environment helps produce cleaner results.
If the object itself can move, secure it before scanning.
Even small shifts can create texture misalignment when the geometry and image data no longer match perfectly.
Turntables Can Improve Texture Consistency
For smaller objects, a turntable can provide a very controlled scanning workflow.
Instead of moving the scanner around the object, the scanner remains relatively stable while the object rotates.
This can create smoother coverage and more consistent camera angles.
Lighting also remains more predictable because the scanner and lights stay in fixed positions.
However, reflective objects may show changing highlights as they rotate. In those cases, large diffuse lights are especially helpful.
A turntable is not necessary for good texture capture, but it can make the process easier for small and medium-sized objects.
Separate Geometry Capture from Texture Capture When Needed
For difficult objects, the best geometry workflow may not be the best texture workflow.
A highly reflective automotive part may require laser scanning or scanning spray to capture accurate geometry, while its final appearance may be better recorded using photographs under controlled lighting.
In these cases, separating the two stages can produce a better final result.
First, capture the geometry using whatever method gives the cleanest mesh.
Then capture high-quality color photographs or a dedicated texture pass once the object is prepared for visual capture.
The texture can then be mapped onto the existing geometry.
This approach is particularly useful for archival models, product visualization, cultural artifacts, and objects where visual realism is a major requirement.
Take Advantage of External Photo Mapping
Some scanning workflows support applying photographs from a phone, mirrorless camera, or DSLR to the scanned mesh.
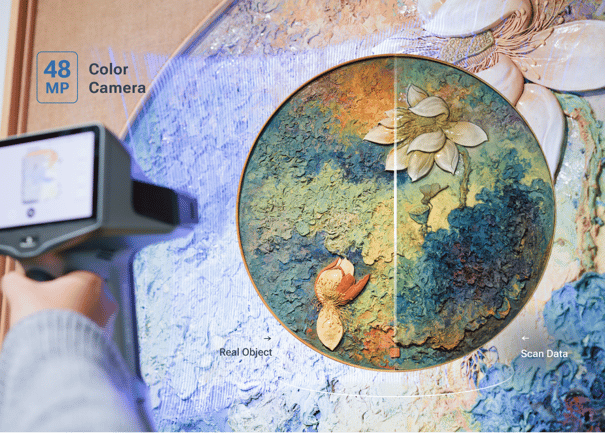
This can provide significantly higher texture resolution than the scanner’s built-in color camera alone.
External photo mapping is especially useful when the final model will be viewed close-up or used in marketing, visualization, game development, museum presentation, or digital preservation.
When taking external photographs, keep lighting consistent and avoid changing the object’s position between the scan and photo sessions.
Capture the object from multiple angles with plenty of overlap between images.
The photographs should be sharp, well exposed, and free from motion blur.
Use Enough Photo Overlap
When using photographs for texture mapping, overlap is essential.
Each part of the object should appear in multiple images.
A useful rule is to move gradually around the object rather than jumping between widely separated viewpoints.
Capture several rings of photographs at different heights and angles.
For a small object, you might take one set around the middle, another angled downward toward the top, and another angled upward toward the lower surfaces.
More complete coverage gives the software a better chance of selecting sharp, well-oriented image data for each area of the mesh.
Keep Camera Settings Consistent
If external photography is being used for texture capture, consistent camera settings can improve the final result.
Large changes in exposure, white balance, or color processing between photographs can create visible differences across the texture.
Manual white balance and manual exposure are often useful when the lighting is controlled.
Avoid aggressive automatic HDR, filters, or image-processing effects that may change color and contrast from one image to the next.
The goal is to create a consistent set of source images rather than a collection of individually optimized photographs.
Watch for Reflections
Reflective surfaces are one of the hardest challenges in texture capture.
A reflection is not actually part of the object’s color. It is an image of the surrounding environment.
As the scanner moves, the reflection moves across the surface.
This means different texture images may show completely different highlights in the same physical location.
When those images are combined, the final texture can appear inconsistent or patchy.
Diffuse lighting helps reduce this problem by making reflections softer and less directional.
In some professional photography workflows, polarizing filters and cross-polarized lighting can reduce reflections even further, though this requires more specialized equipment.
Review the Texture Before Final Export
Do not assume the texture is finished just because processing completed successfully.
Rotate the model and inspect it closely.
Look for:
-
Brightness changes between sections
-
Visible texture seams
-
Blurry areas
-
Missing color
-
Stretched images
-
Marker artifacts
-
Incorrect color patches
-
Reflections that suddenly change
-
Areas where the texture does not line up with the geometry
If the project allows it, these issues can sometimes be corrected before the final export by adding more image data or adjusting the mapping process.
Catching them early is much easier than discovering them after the model has already been delivered.
Texture Resolution and Mesh Resolution Are Different
A highly detailed mesh does not automatically produce a highly detailed texture.
Mesh resolution controls the geometric detail of the model. Texture resolution controls the visual detail applied to its surface.
A model can have millions of polygons and still look blurry if the source texture images are low resolution.
Likewise, a relatively simple mesh can look extremely realistic when it has a high-quality texture map.
The balance depends on how the final model will be used.
Engineering and reverse engineering projects may prioritize geometry. Visualization projects may benefit more from better texture resolution.
Be Careful with Texture Compression
Export settings can also reduce texture quality.
Some formats or workflows compress texture images heavily to reduce file size.
This may be useful for web viewing, mobile applications, or real-time rendering, but excessive compression can blur fine details and create blocky artifacts.
If maximum quality is required, keep a high-resolution master version of the texture before creating smaller versions for distribution.
This gives you the flexibility to create optimized copies later without losing the original texture data.
Match the Texture Quality to the Final Use
Not every project needs maximum texture resolution.
A model being used as a CAD reference may only need enough color to help distinguish different surfaces.
A model being uploaded to an online viewer may need moderate resolution to keep loading times reasonable.
A museum archive, product visualization, or cinematic asset may benefit from much higher-quality textures.
Think about the viewing distance, display resolution, file-size limitations, and purpose of the model before deciding how much texture detail is necessary.
Capturing more data is useful, but the final model should still be practical to store, transfer, and display.
Example: Scanning an Automotive Interior
Automotive interiors are a good example of why texture capture requires careful planning.
A vehicle cabin contains black plastics, glossy trim, fabric, leather, screens, chrome details, and deep shadowed areas.
The geometry may scan well, but the texture can look inconsistent if one side of the interior is lit by sunlight while the other is in shadow.
For better results, scan in a garage or shaded environment with soft, controlled lighting.
Adjust the exposure so dark seats and dashboard materials remain visible without blowing out brighter trim.
Move carefully around the center console, door panels, dashboard, and seating areas, making sure each major surface is captured from a direct angle.
The result will be a much more usable model for visualization, restoration documentation, or interior design work.
Example: Scanning a Product for Presentation
Suppose you are scanning a painted consumer product that will eventually be displayed on a website or in a virtual showroom.
In this case, texture quality may be more important than capturing every microscopic geometric detail.
Clean the product carefully, use soft diffuse lighting, and remove fingerprints or dust.
Scan from several consistent angles and pay extra attention to labels, graphics, logos, and color transitions.
If the built-in texture camera does not provide enough resolution, photograph the product separately and apply those images during texture mapping.
The final result can look much closer to traditional product photography while still retaining true 3D geometry.
Example: Cultural and Archival Scanning
Texture can also be essential when documenting historical objects.
Surface discoloration, paint, writing, wear patterns, stains, and material differences may carry important information that geometry alone cannot preserve.
In this case, color accuracy and consistency are especially important.
Use controlled lighting, avoid aggressive image processing, and document the capture conditions when possible.
For valuable or sensitive objects, avoid scanning sprays or other surface treatments unless they are approved for conservation use.
High-quality texture capture helps preserve not only the shape of the object but also its current visual condition.
A Practical Texture Capture Checklist
Before scanning, clean the object if appropriate and remove unnecessary temporary markings.
Choose a location with soft, even, and consistent lighting.
Check the brightest and darkest areas in the texture preview before starting.
Keep exposure and color conditions as consistent as possible throughout the scan.
Move smoothly and capture important surfaces from multiple angles.
Pay extra attention to tops, undersides, recessed areas, and other surfaces that may not be visible from the main scanning position.
Avoid changing lighting conditions or moving the object during the project.
If the built-in texture capture is not enough for the final application, consider a separate photography and texture-mapping workflow.
Finally, inspect the textured model carefully before exporting it.
Final Thoughts
High-quality texture capture starts before the first scan is recorded.
Good lighting, careful exposure, clean object preparation, smooth scanner movement, and complete visual coverage all contribute to the final result.
The most important thing is to remember that geometry and texture have different requirements. A scan can be dimensionally complete while still having weak visual data.
When appearance matters, plan the project around both.
Use consistent lighting, protect detail in bright and dark surfaces, capture the object from enough angles, and take advantage of external photo mapping when the project requires higher visual quality.
With a little more attention during capture, the same 3D geometry can go from looking like a basic scanned model to a convincing digital representation of the real object.